|
I have this piece in the works, too. Right now the pattern is just traced on contact paper. I need to cut it out and paint it on, somehow. I'm thinking of using metal leaf on this one. I have done anything with metal leaf for a while. 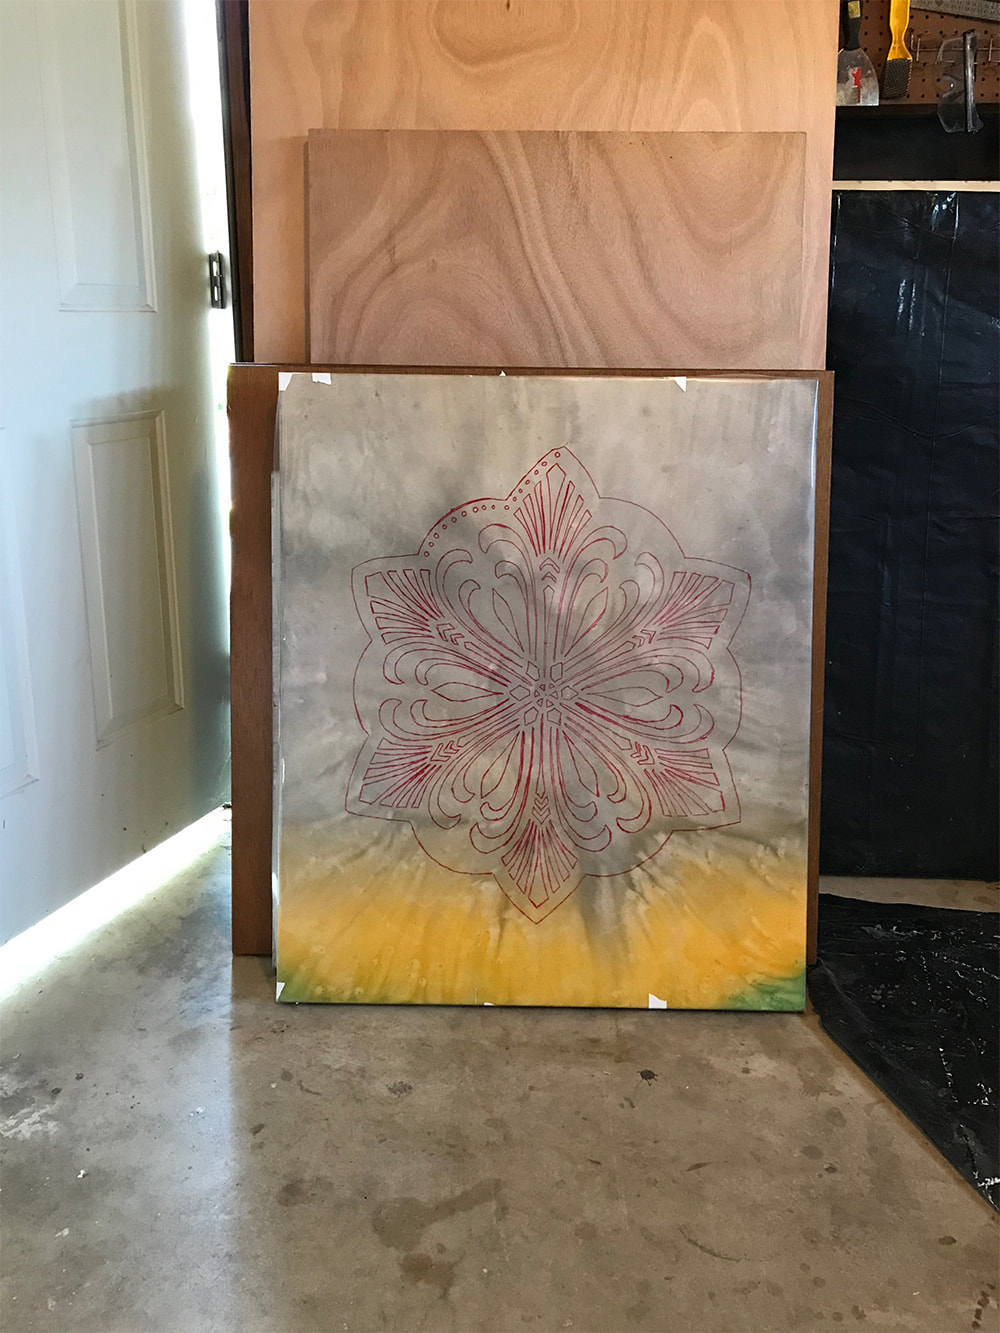
0 Comments
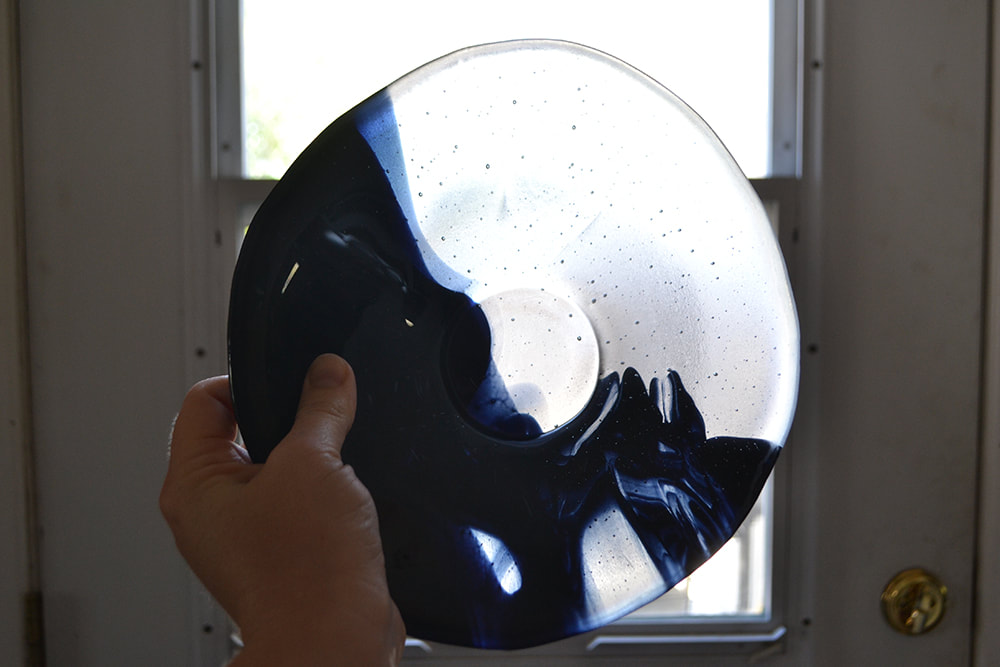
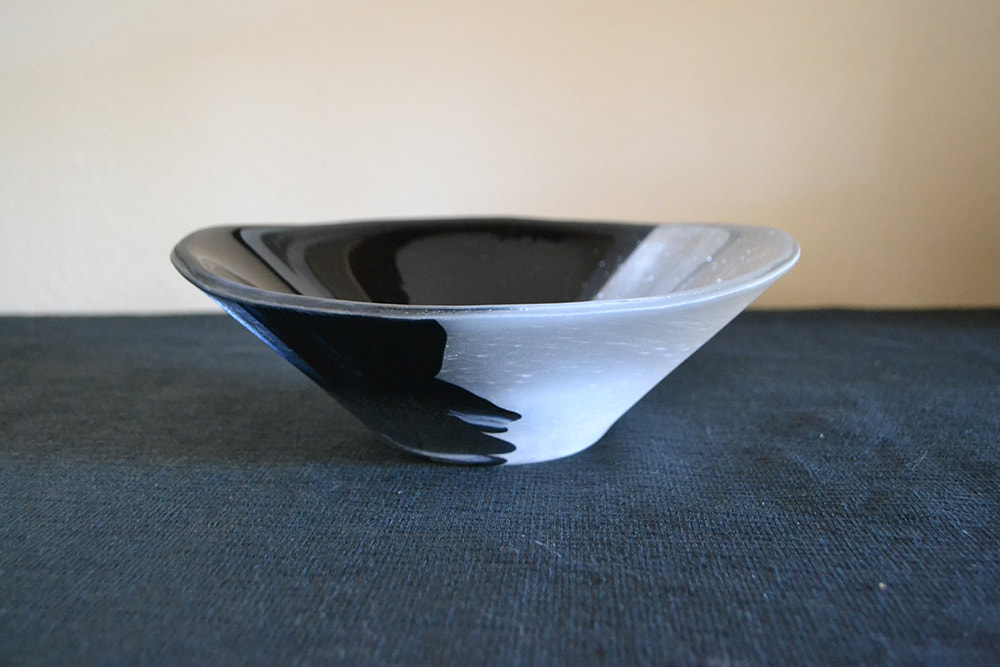
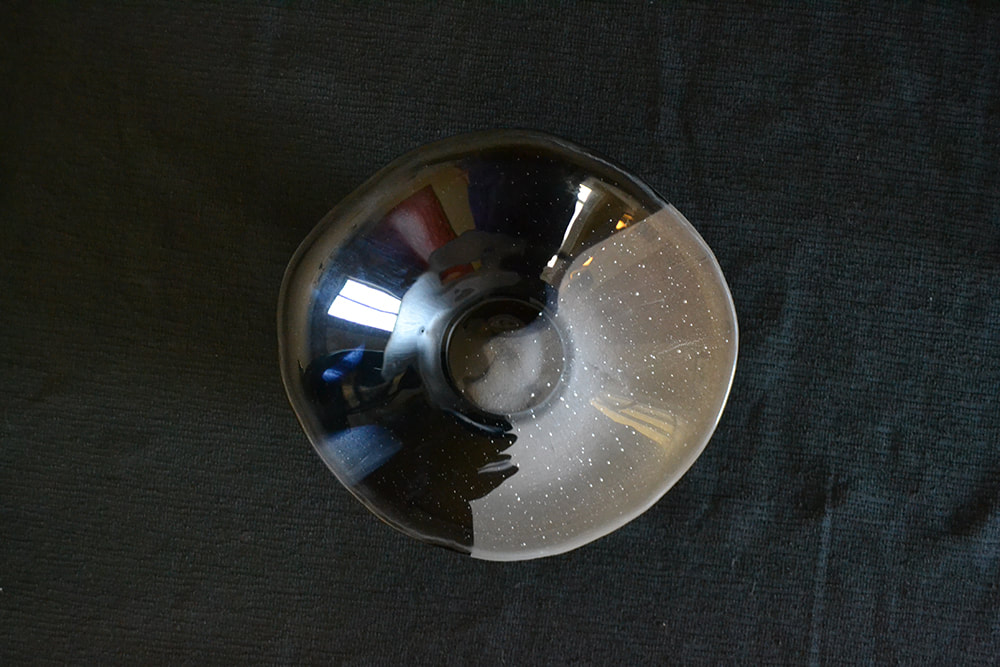
We got a few new molds for slumping glass. One of them is for a larger, steep sided bowl. It's a little more challenging to use than our other molds. Here's my first attempt at using it. 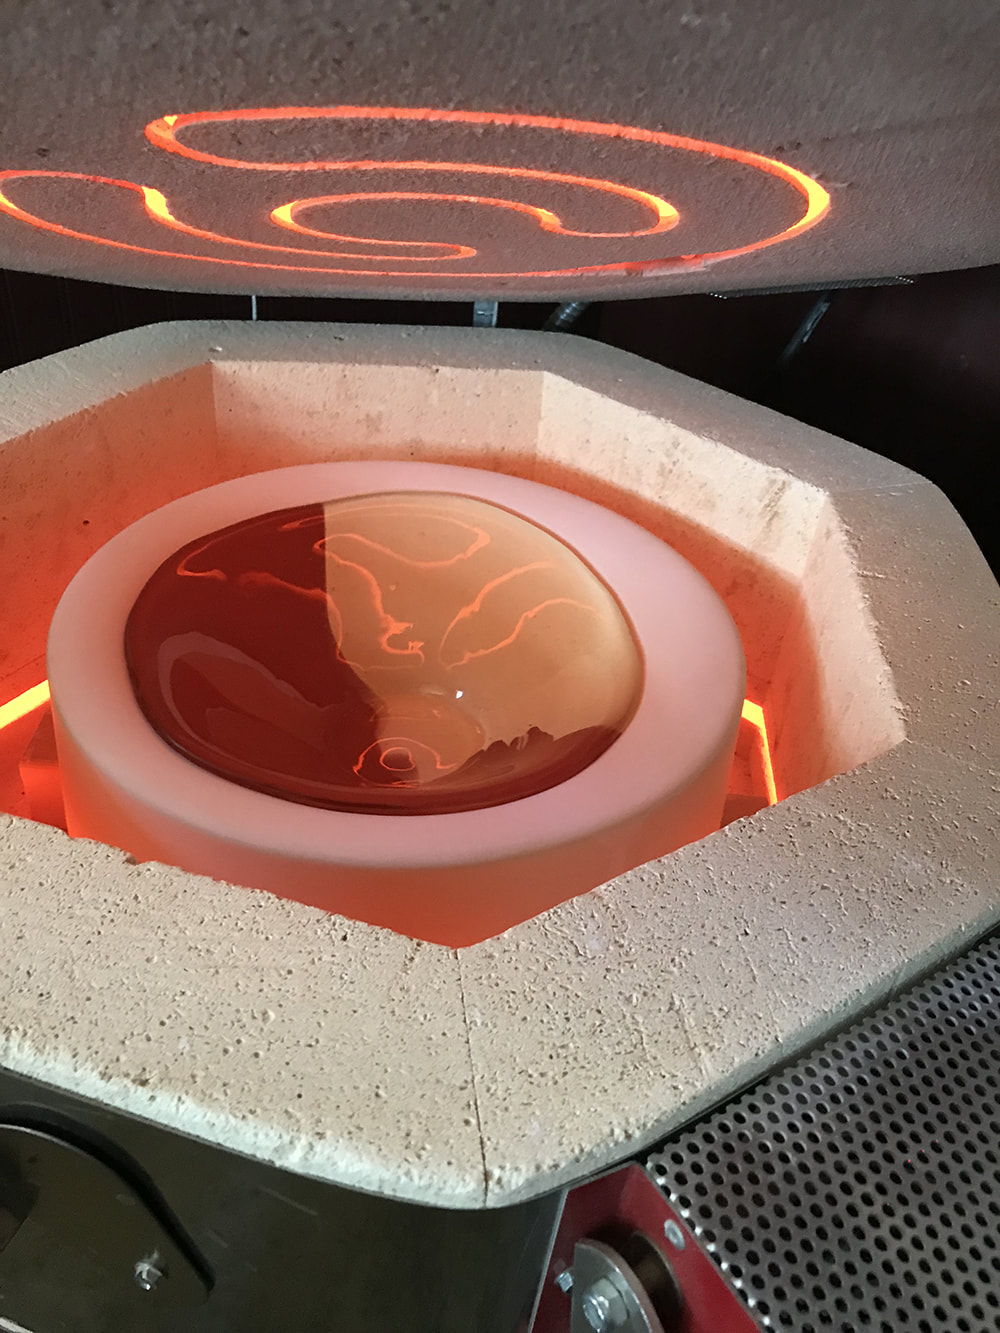 The mold instructions say to peek at it during the firing schedule's high temperature hold time. One of the challenges with this mold is that the sides are so steep, the glass starts to slide down them towards the bottom very quickly. You can see in the picture above that the bowl has started to shrink to the bottom. The edges of the glass have pulled away from the mold by about an inch. So I think I left it at that high temperature hold for too long. At this point there was still 15 minutes of that hold time left, but I cancelled the firing and started the cool down process. Here's the finished bowl. It has a few issues. The pictures don't show it, but the sides of the bowl are thicker than normal. You can see, however, that the outside edge of the bowl came out irregular instead of circular. Also, the bottom of the bowl has a texture to it. All of those issues were caused by the glass sliding down the edge of the mold.
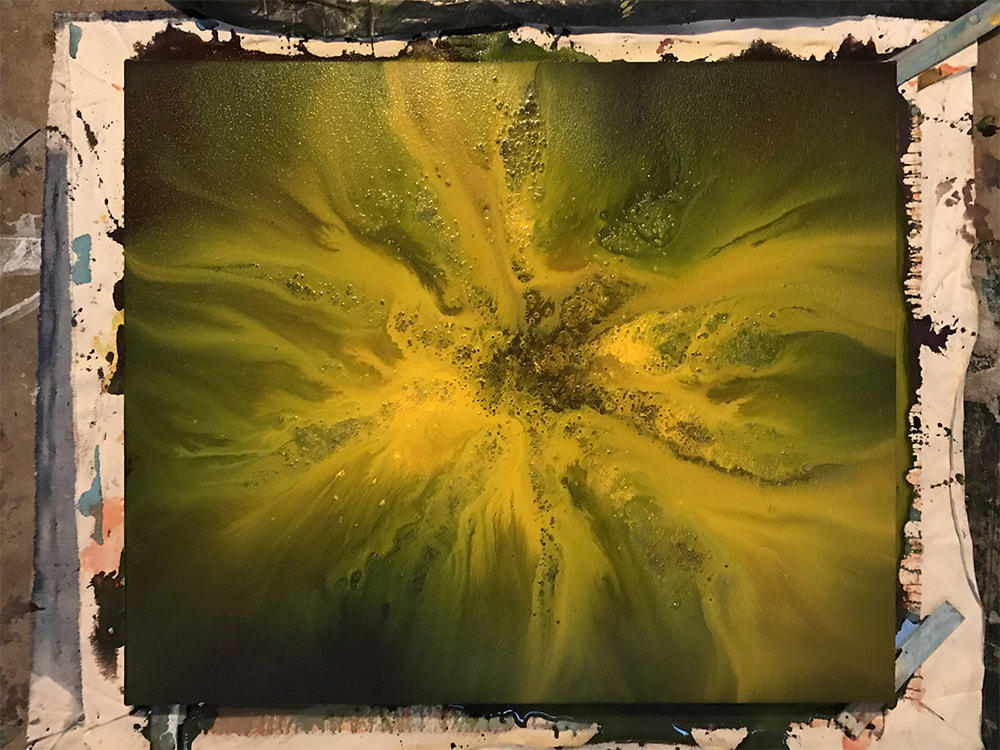
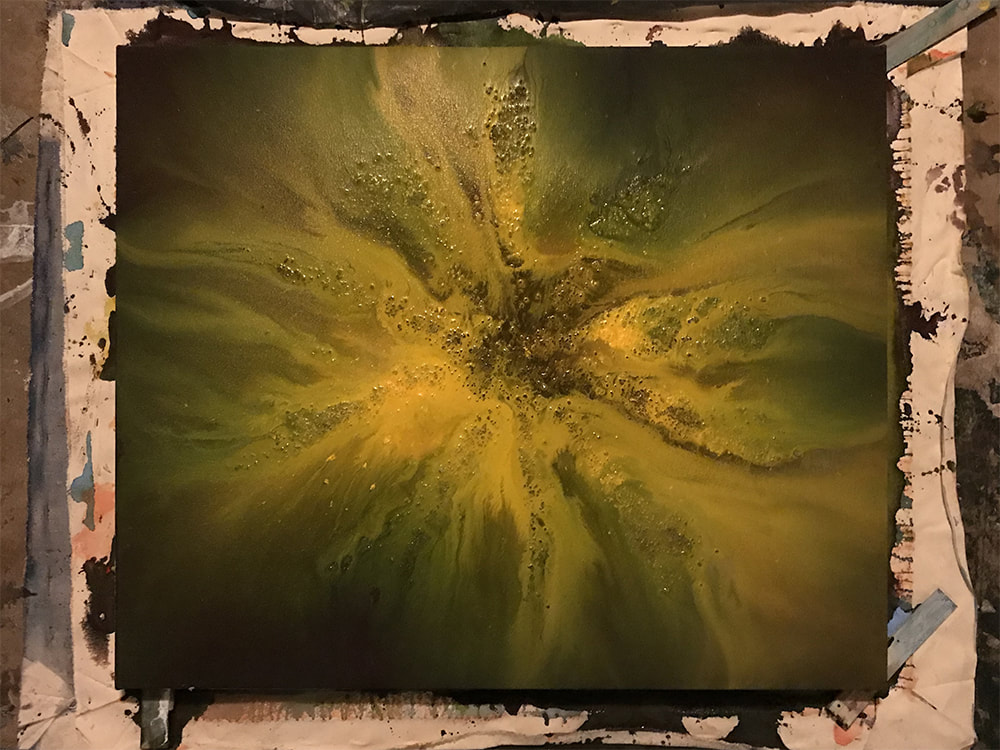
Even with all those issues, I like it! I love the glass that I used. It looks like someone spilled ink into water then froze it into glass. I also like the texture on the bottom of the bowl. But all those issues mean you won't see it in our Etsy shop. Looks like I have a new fruit bowl! Here's one of the things I worked on last weekend. It's the next step in my Montana de Oro piece. The colors are probably most accurate in the first picture. We've been doing lots of glass work lately (stained glass and fused glass), so our scrap glass bin is overflowing. I was looking for something fun and quick to do with some of it, and found this project from Bullseye Glass. Supposedly if you stack up five layers of regular thickness glass and fire it, the glass melts down into a circular puddle. I thought I would give it a try. Here are the pieces before I fired them. 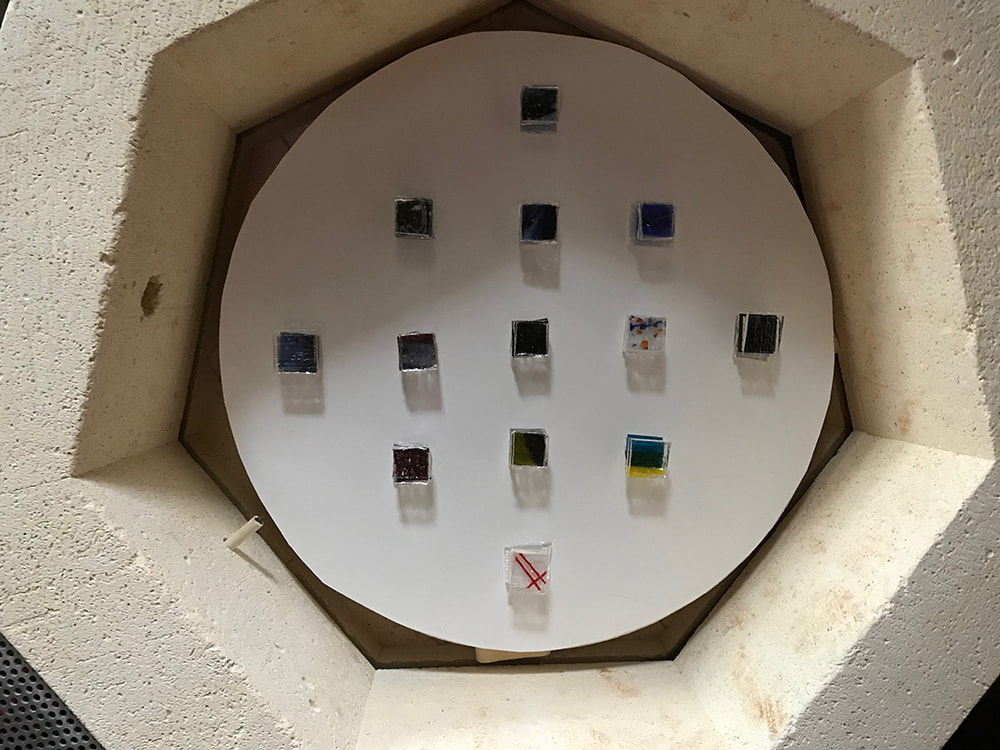 I used our straight cutter which made it really easy. And a bit addictive. I actually have four or five more that didn't fit in the kiln. I'll have to fire those later. Here's the end result.  Pretty cool! I'm really happy with the results. I can't wait to make more. I should probably figure out what to do with these first though. I might make some of them into pendants. I also might make some more of the same color, fire them to another sheet of glass, then slump them into a bowl. Lots of possibilities!
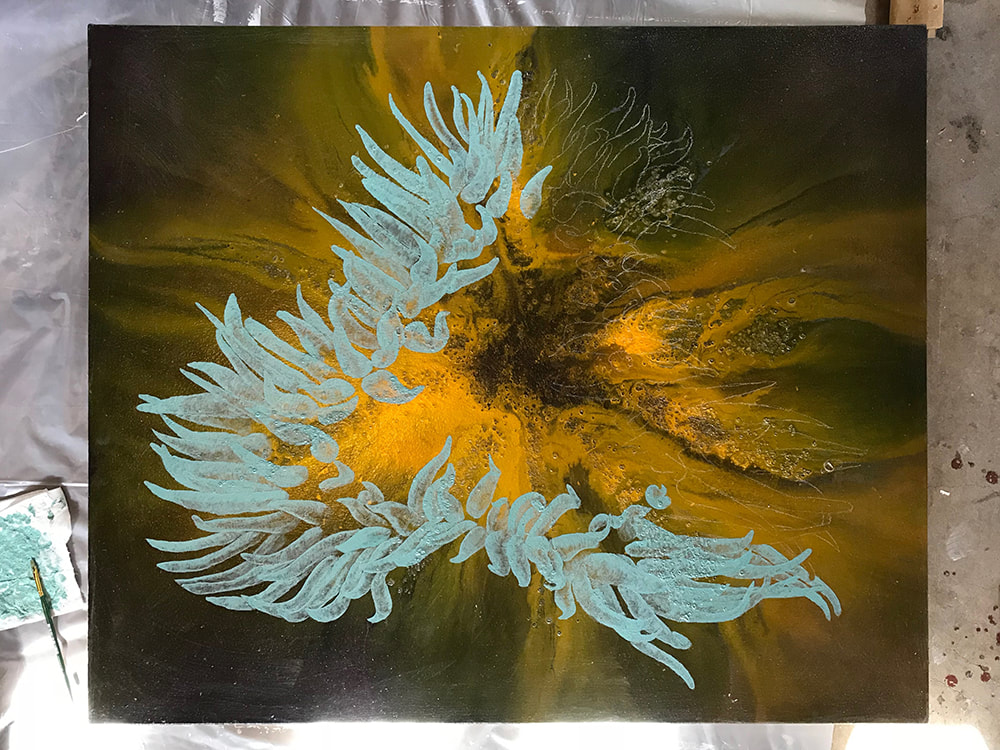
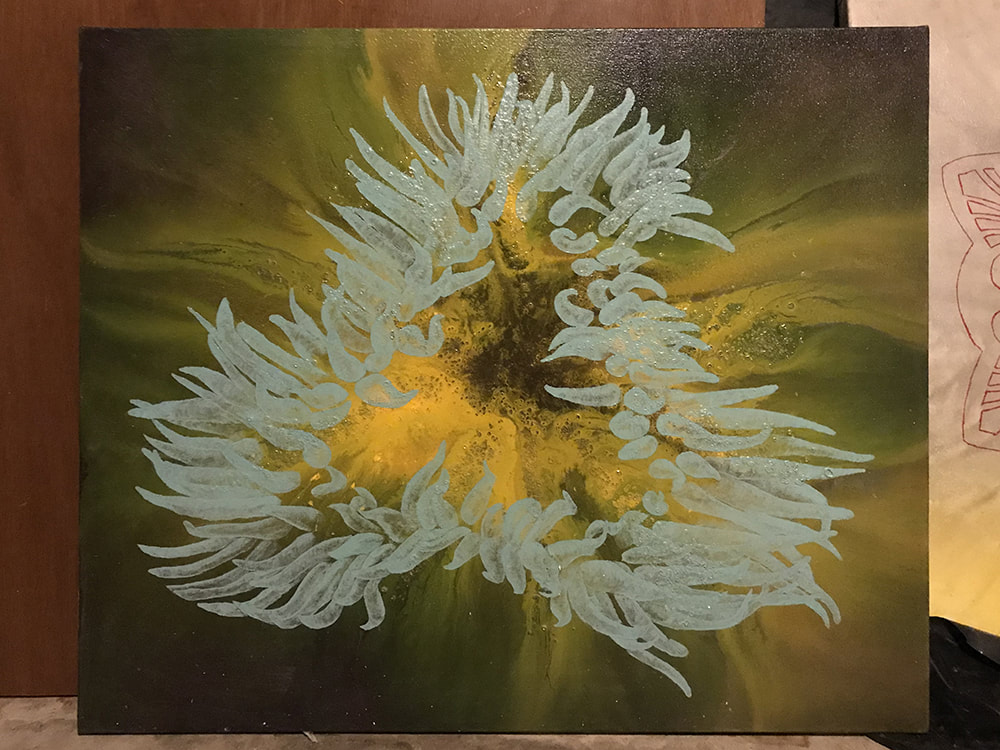
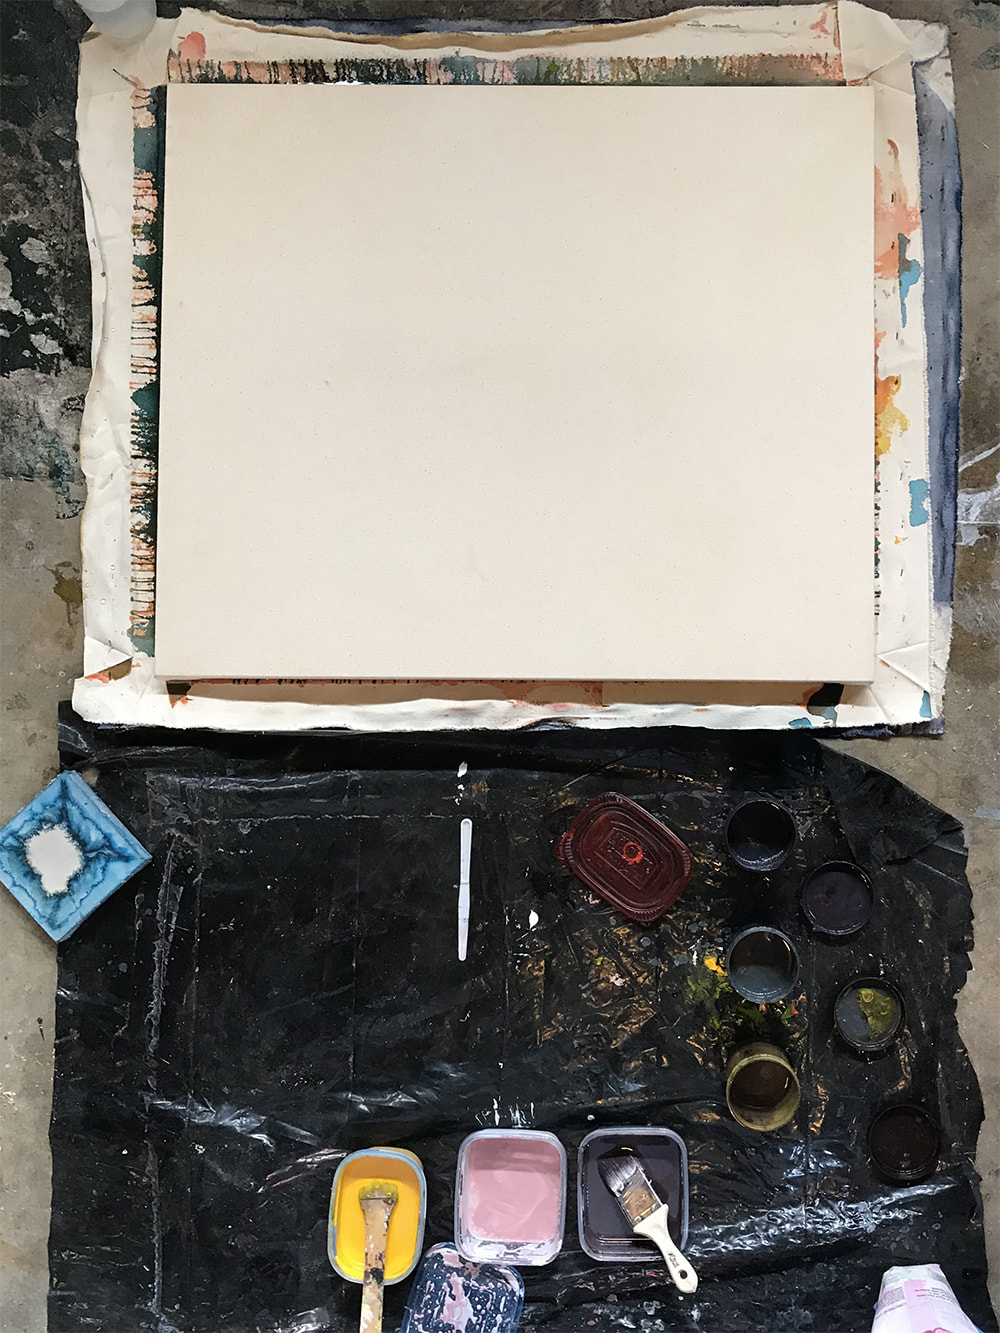
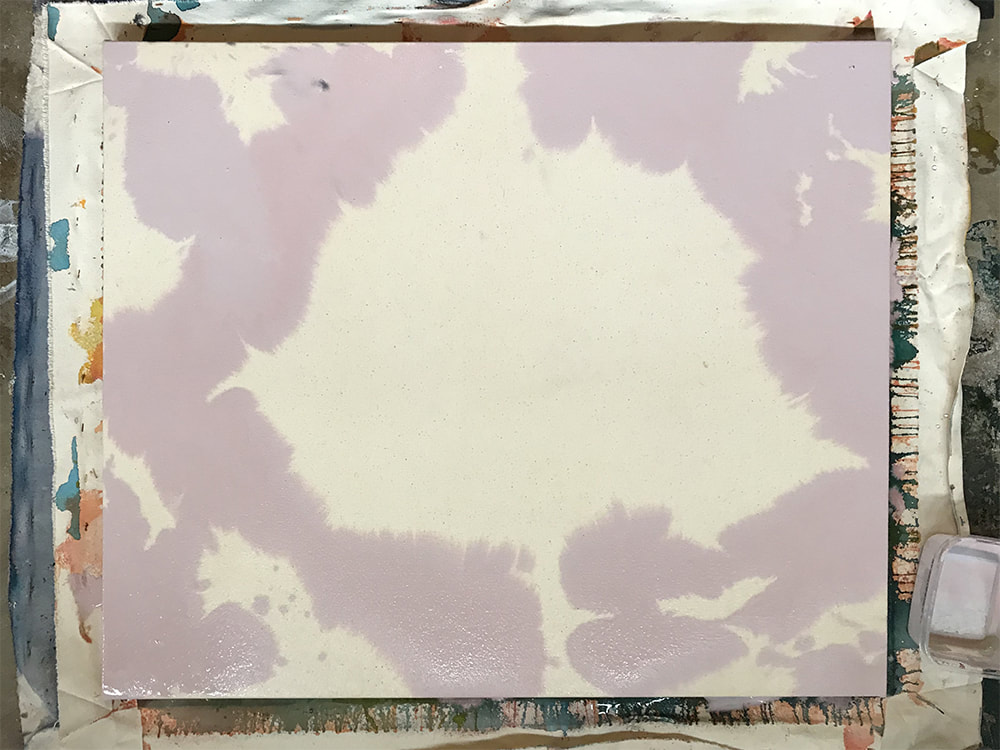
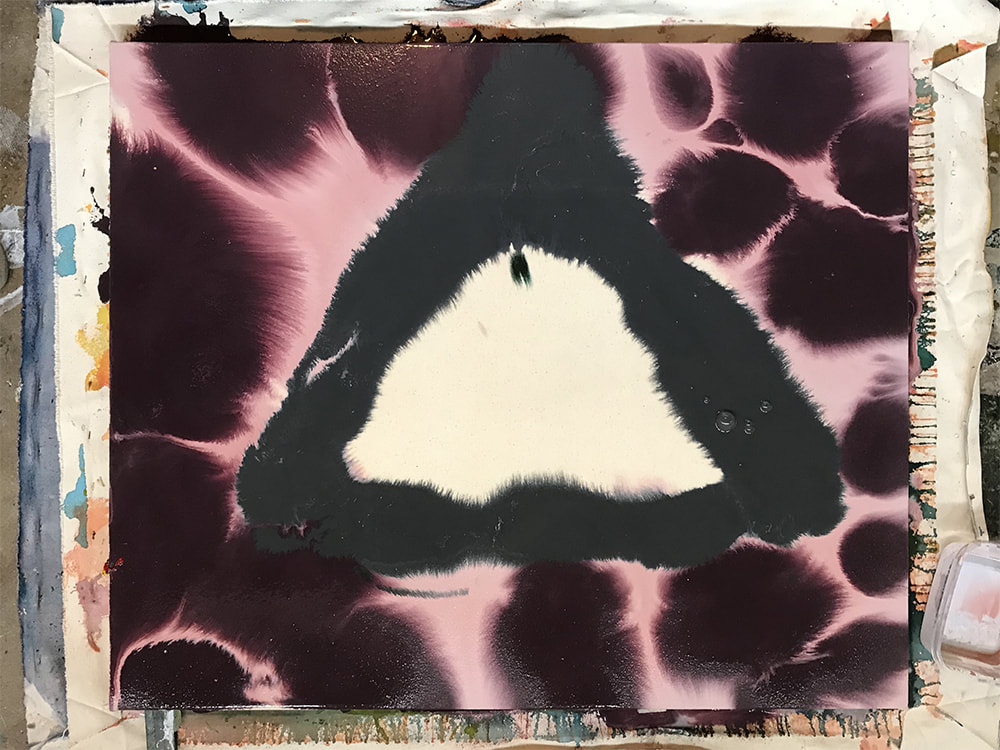
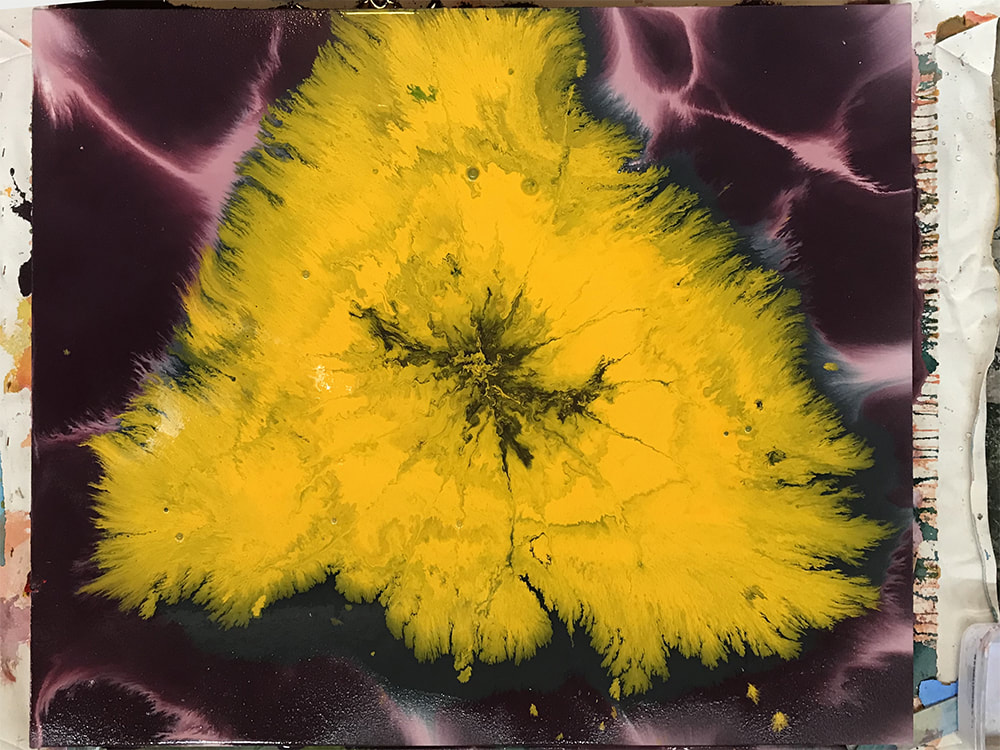
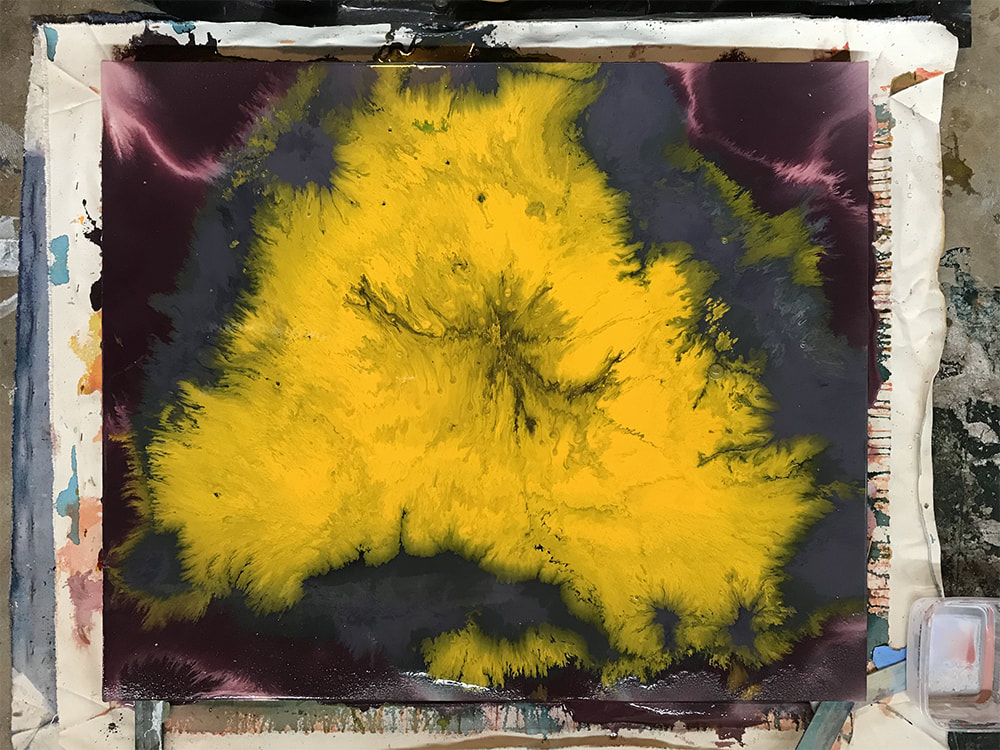
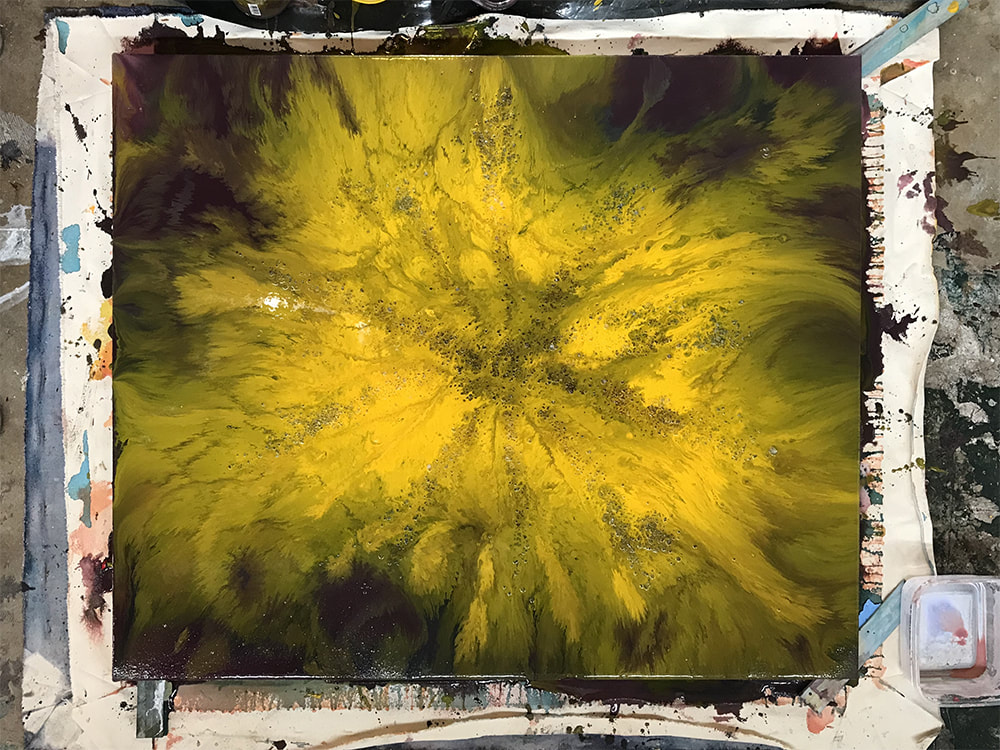
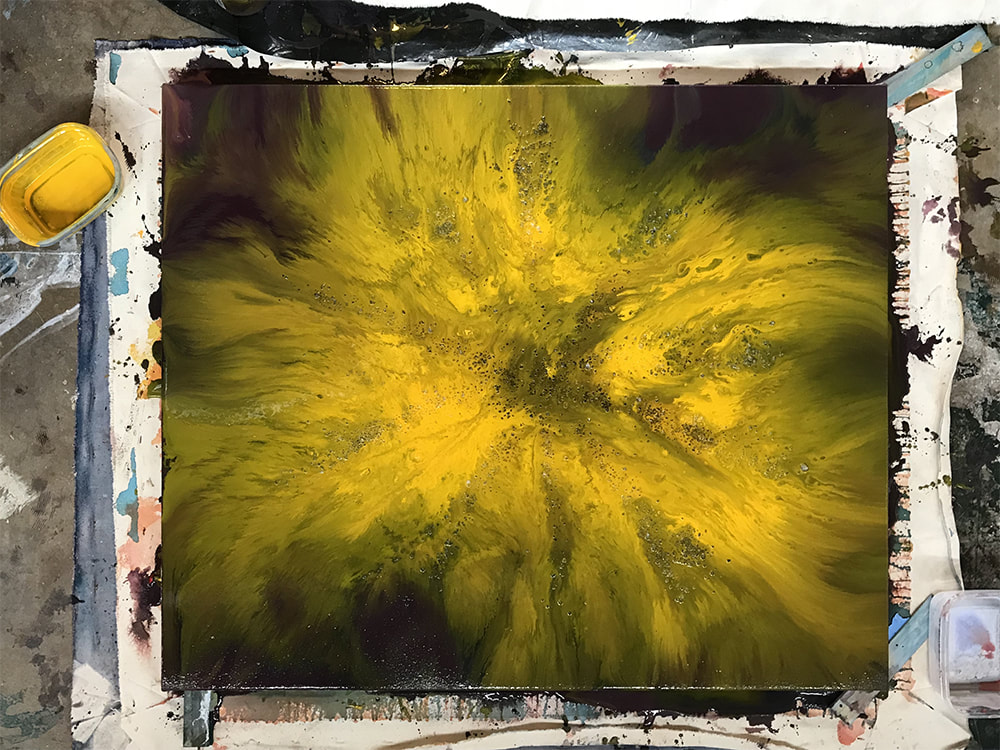
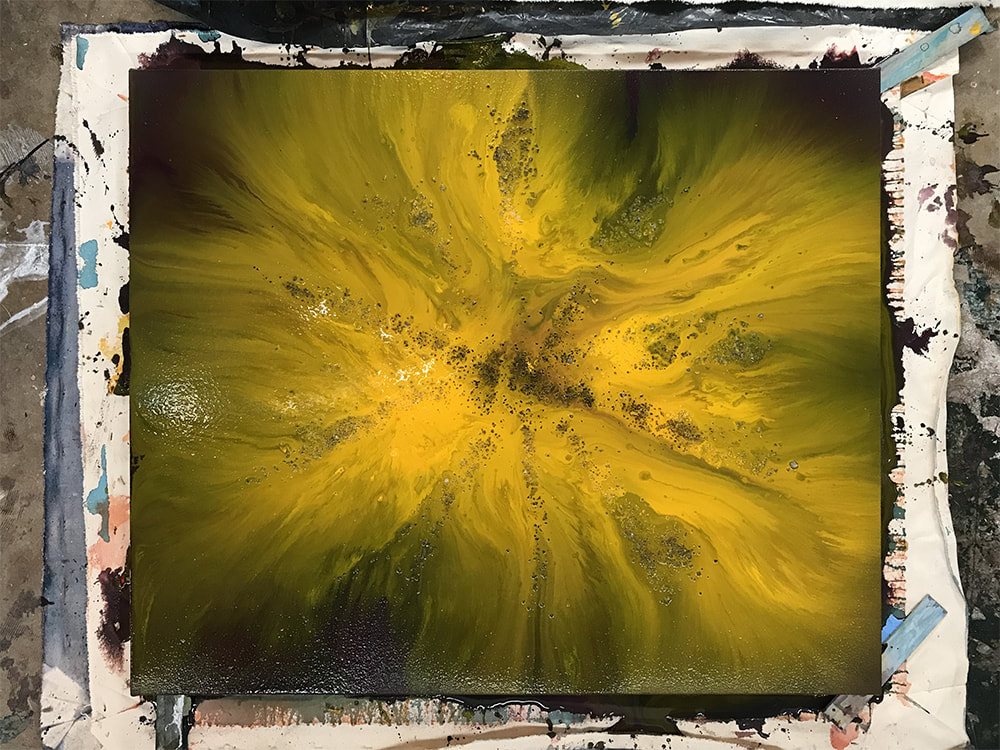
To see more of my glass work and my family's work, head over to our Etsy shop, Bobkat Ranch Crafts! Here's the next piece I'm working on. It's based on a sea anemone I found in the tide pools at Montana de Oro State Park (in California). I was good this time and took a bunch of in progress photos. This was one of my first times using acrylic pouring medium. I mixed a fair amount of it in with the yellow. I'm really pleased with how it maintained the intensity of the yellow, though I think it pushed out the rest of the colors. This is just the first layer. I'm going to go back into it to add more definition to the anemone. I might bring back some of the pinks and purples surrounding it.
It's been slow going for the past few weeks. I have a couple new paintings in the works, but mostly I've been building new panels. 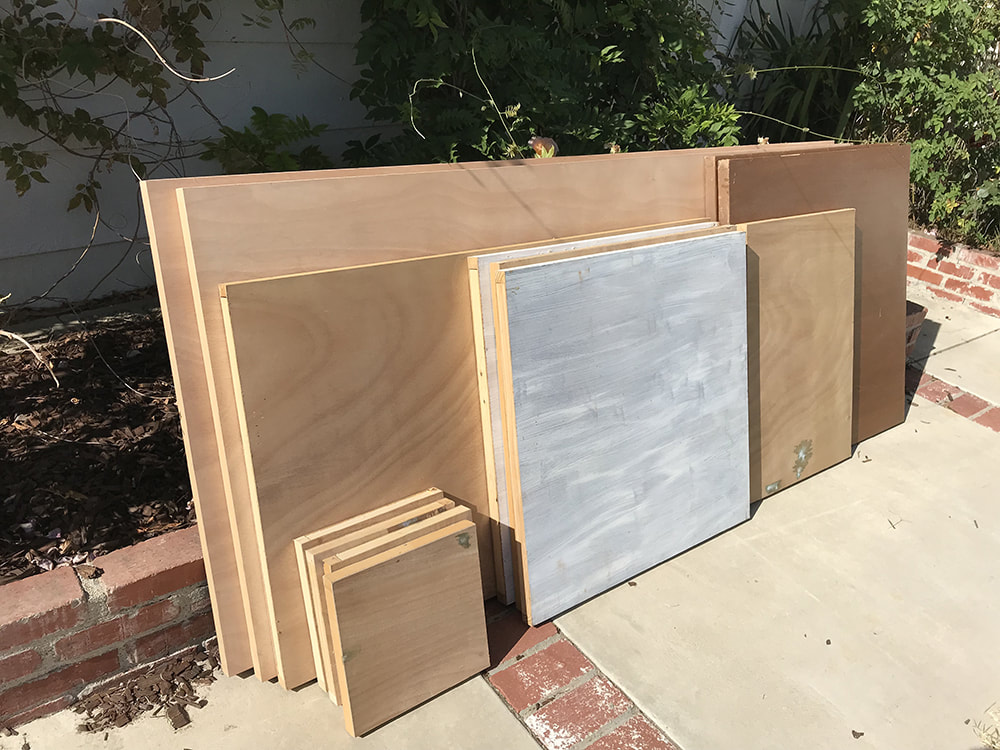 13 new panels! I can't wait to get started on some new pieces.
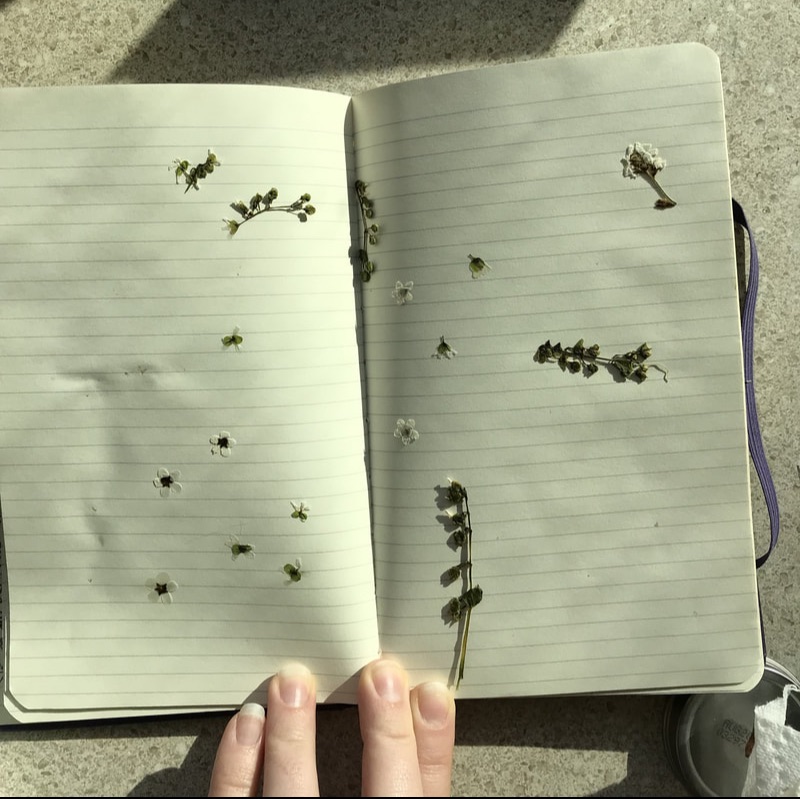
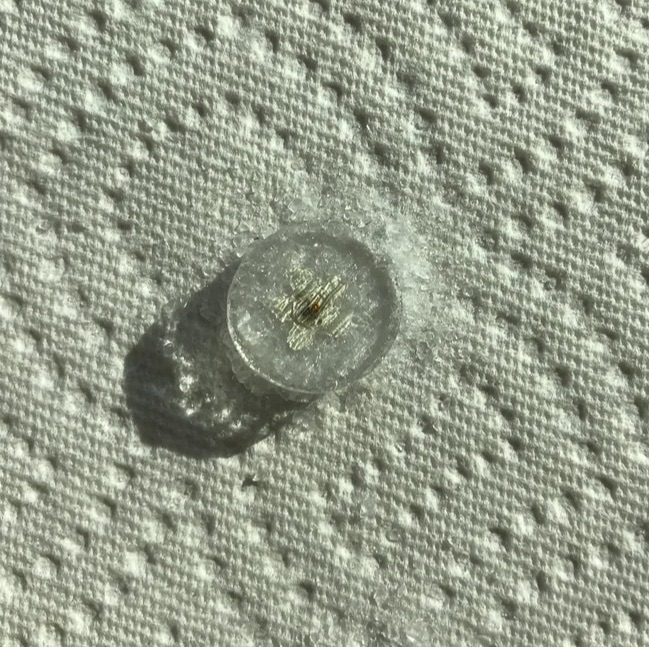
Every couple weeks or so we pack up the family and drive up to Springville, CA to visit my parents. They have a glass kiln. Two weeks ago I started to experiment with botanical inclusions in glass. These are some wildflowers my sister and I picked and pressed. In theory, if you sandwich pressed plant material between two pieces of glass with some frit (crushed glass) and fire it, you get a ghost image of the leaf or flower in the glass. So I gave it a try.
Sadly, all I managed to do was make dirty bubbles in the glass. But I think the technique has some potential. If you look very closely around the clear bubble near the center, there are some lines that show where the petals connected in the center of the flower. My guess is that the flower I used was too small. The glass circles I cut were about 1/2" in diameter. I'll try again at some point using bigger flowers or leaves. I might also try using the flower as stencil to sift colored powdered glass over. 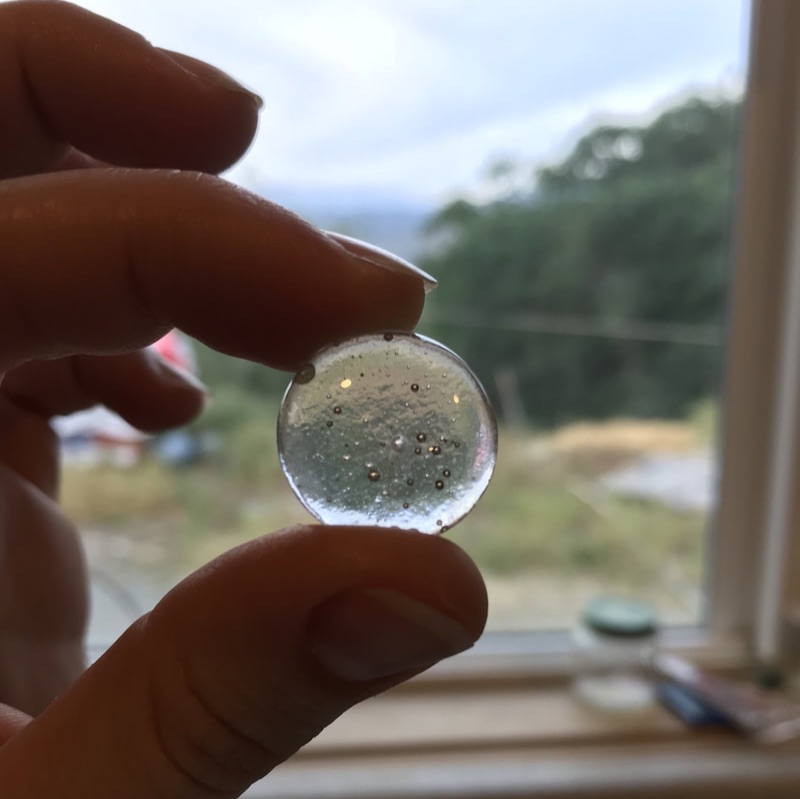 This is one of the pieces I'm working on now. Barring any process disasters, it will be part of my Parks Project. It's based on a photo I took in El Malpais National Monument in New Mexico. It's the first piece I've done on a full sized door for a while. Excuse the slightly wonky pictures. It's hard to get a good picture of a piece this size when it's laying on the floor.  Here it is right after I poured the paint and added the rock salt. 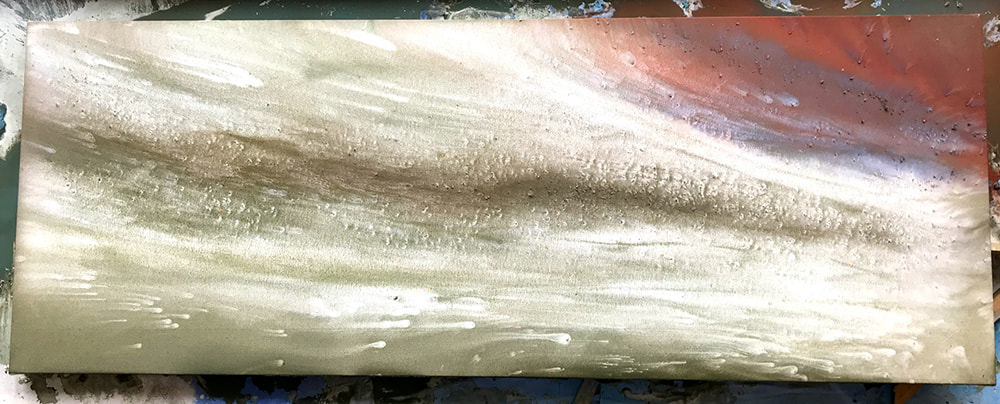 This is after a couple more pours and a bit of drying time. 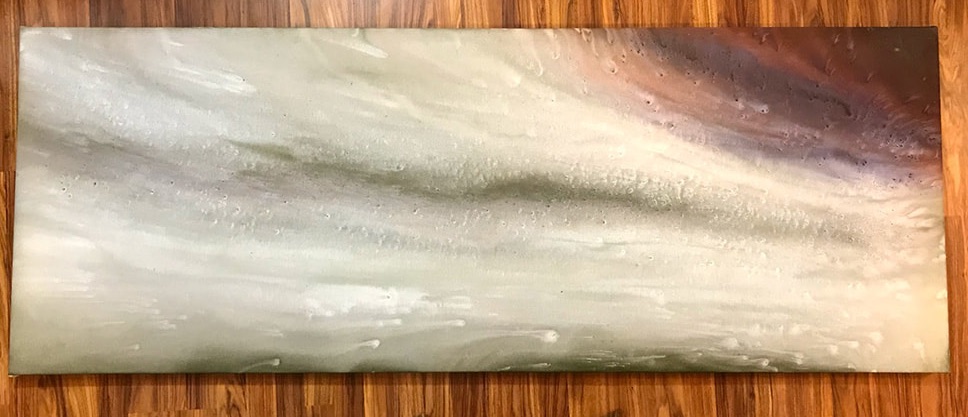 And this is where the piece currently stands, dry and re-stretched. Somehow I managed to warp a door, which I've never done before. But it lays nice and flat now.
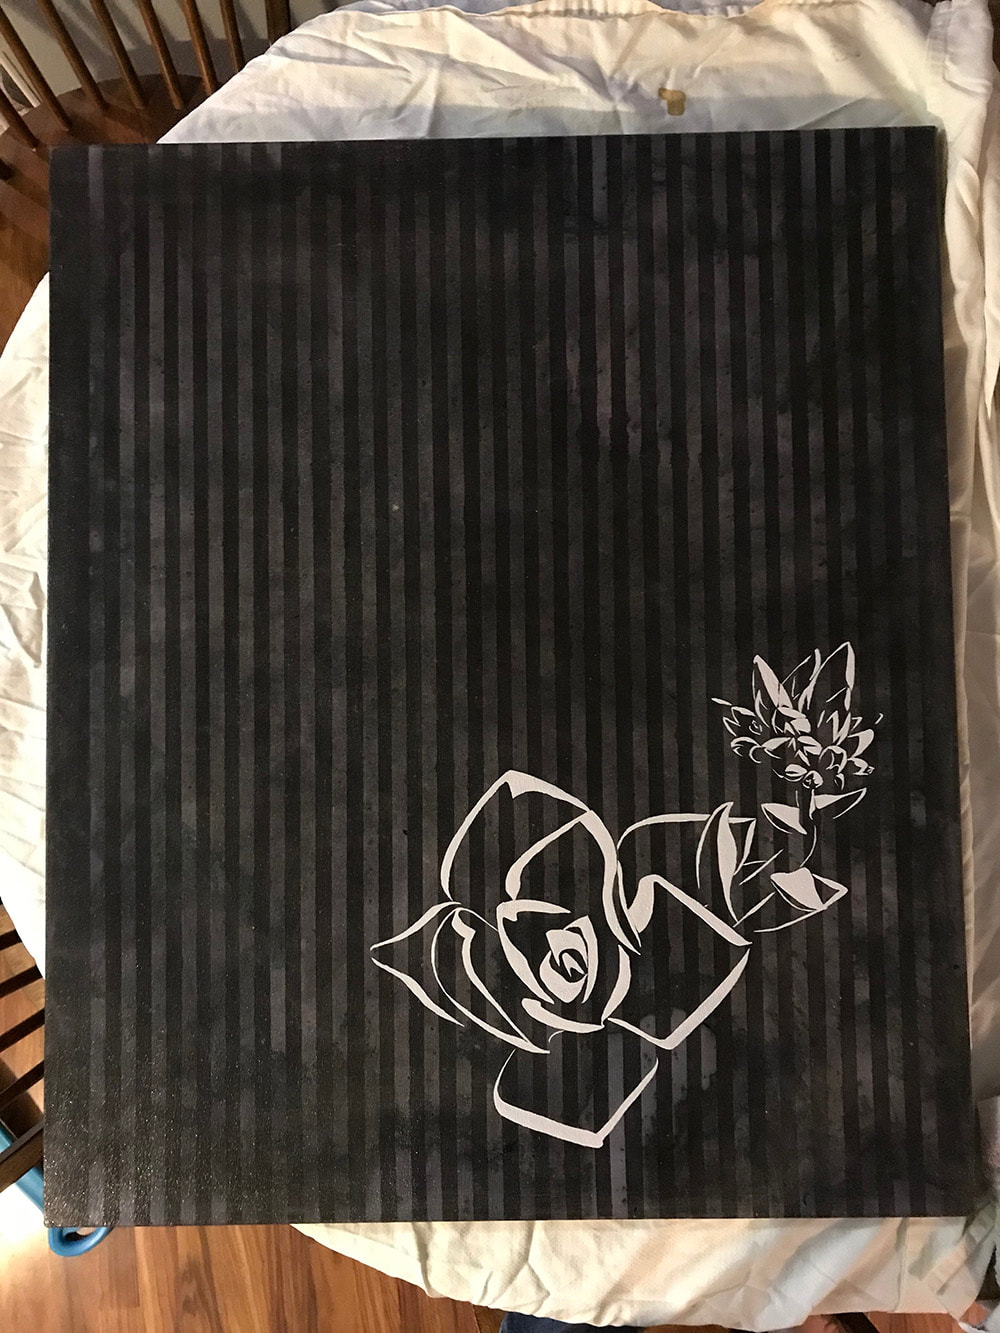
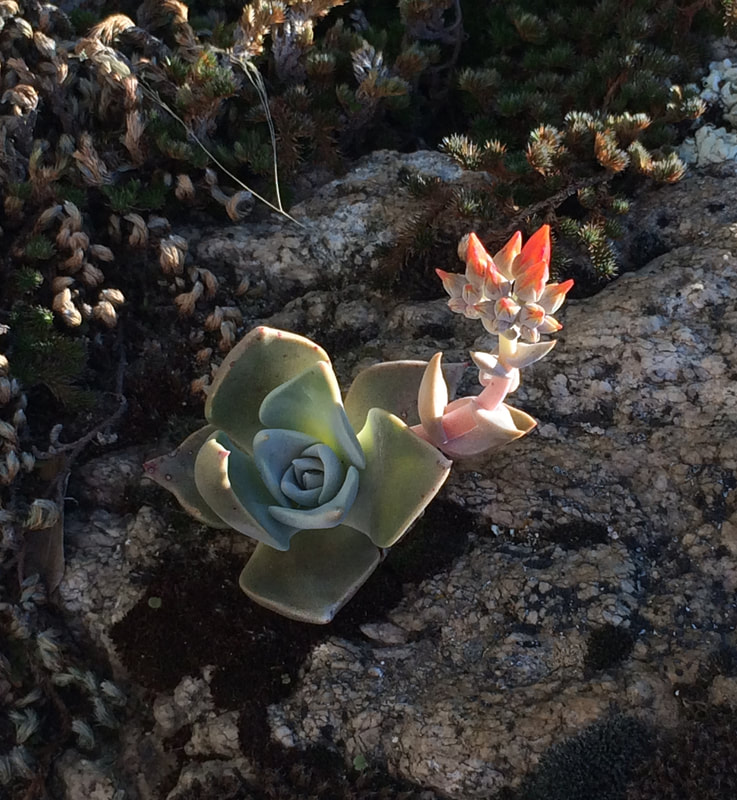
It's always interesting to see how a piece changes as it dries. The red here mellowed out quite a bit, which I was happy with. The red paint was nowhere near that red when I mixed it. I just finished a new piece in my Parks Project series. It's called Sequoia National Forest No. 1. Yes, I went to a park created to celebrate the world's biggest trees, and painted a succulent less than and inch and half across. Typical. I did a pretty good job taking in progress photos with this one. Usually I don't think to do that until the end. 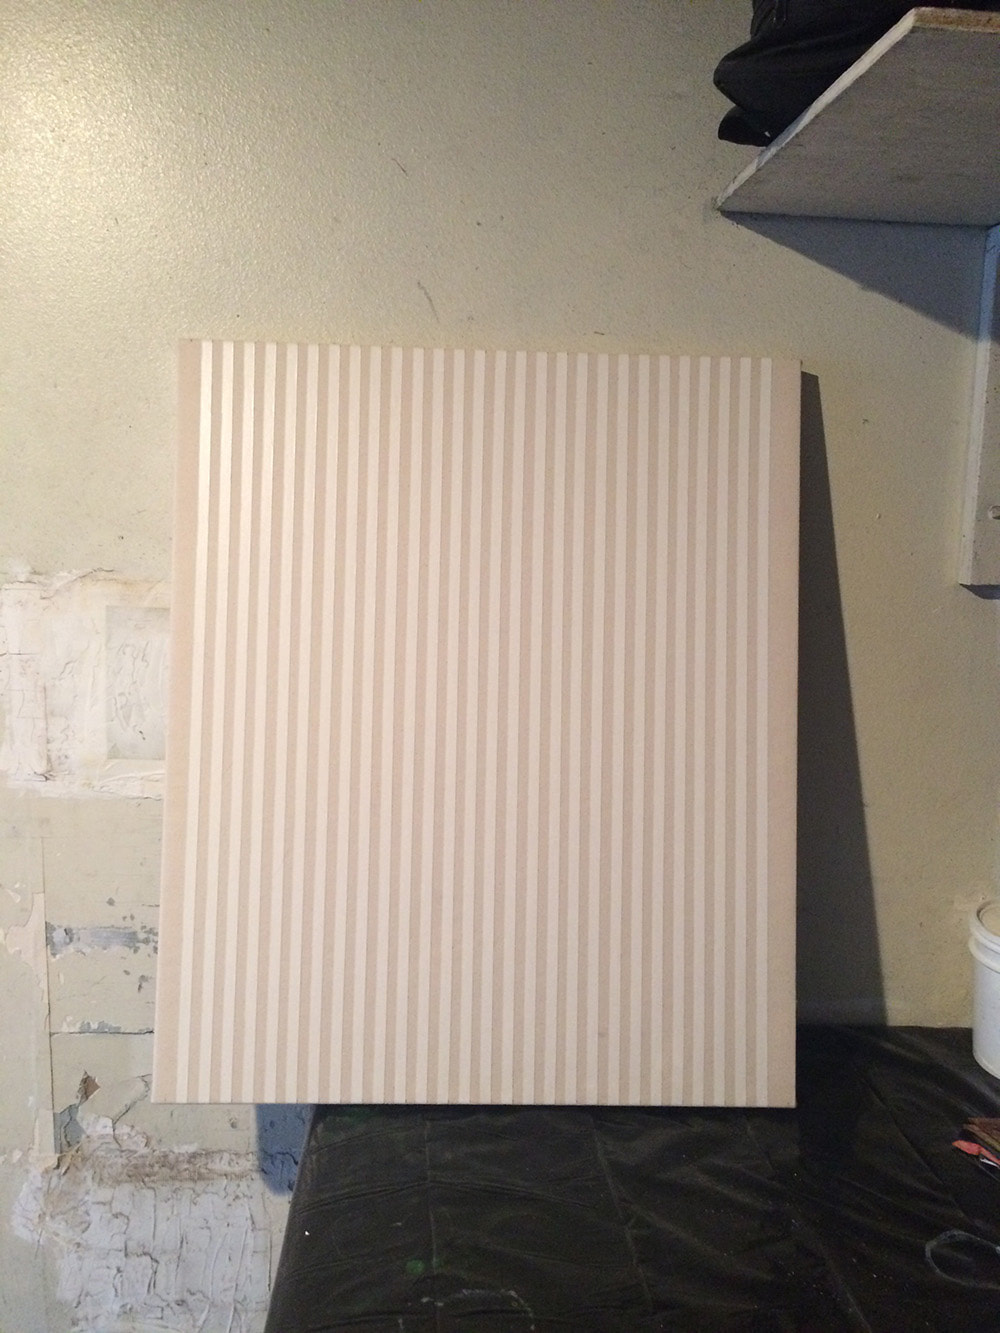 I've done some pinstriped paintings before and wanted to try it again. The first step was to put down some artist's tape. 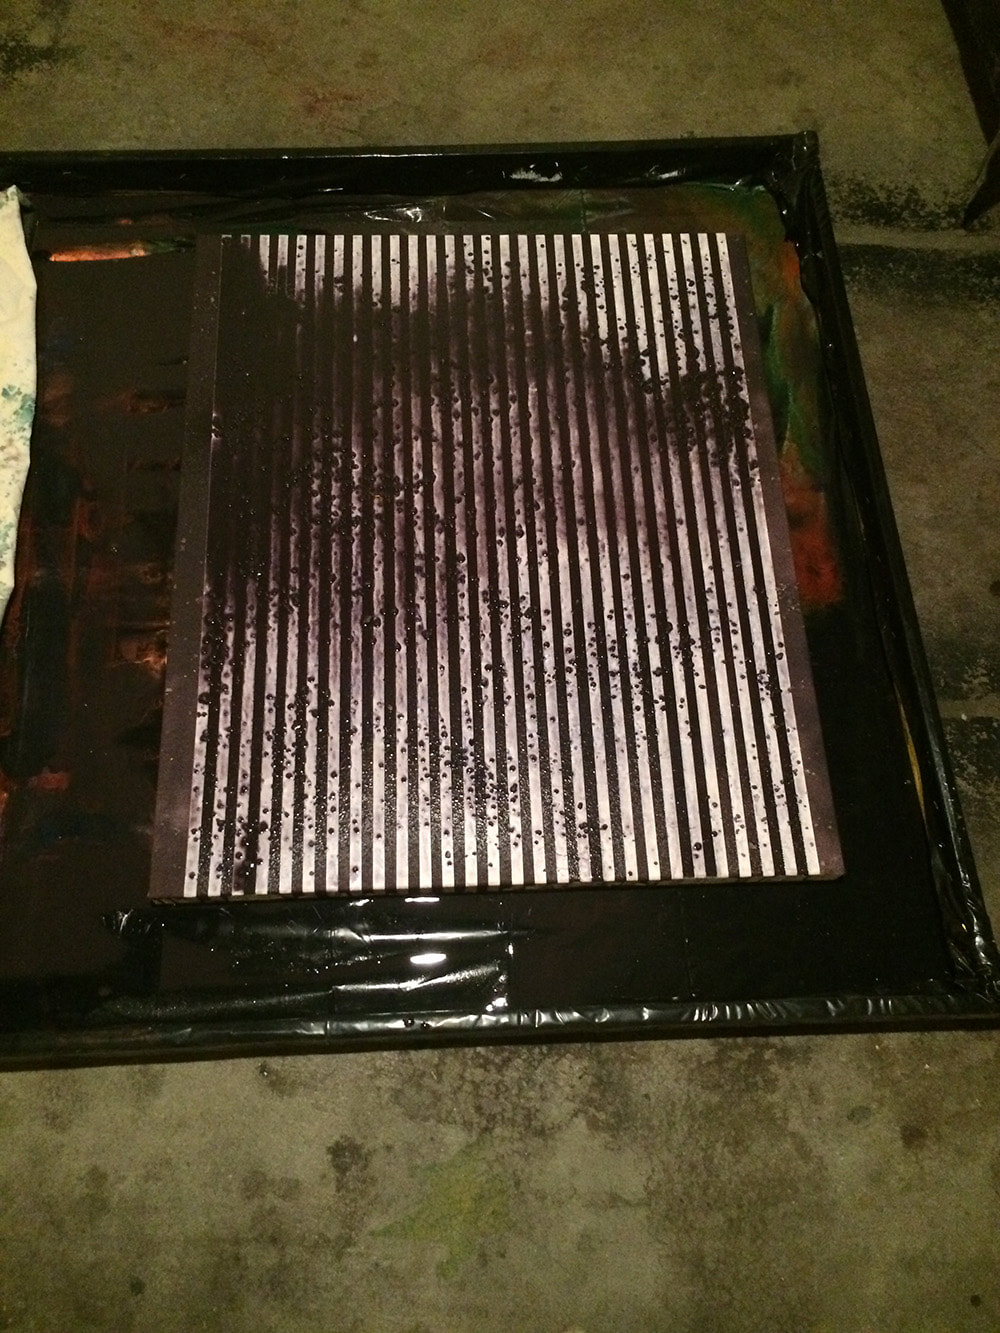 Next I mixed up a chromatic black, thinned it down with water, and poured it over the surface. The textured bits shown in the picture is rock salt to give it some mottling.
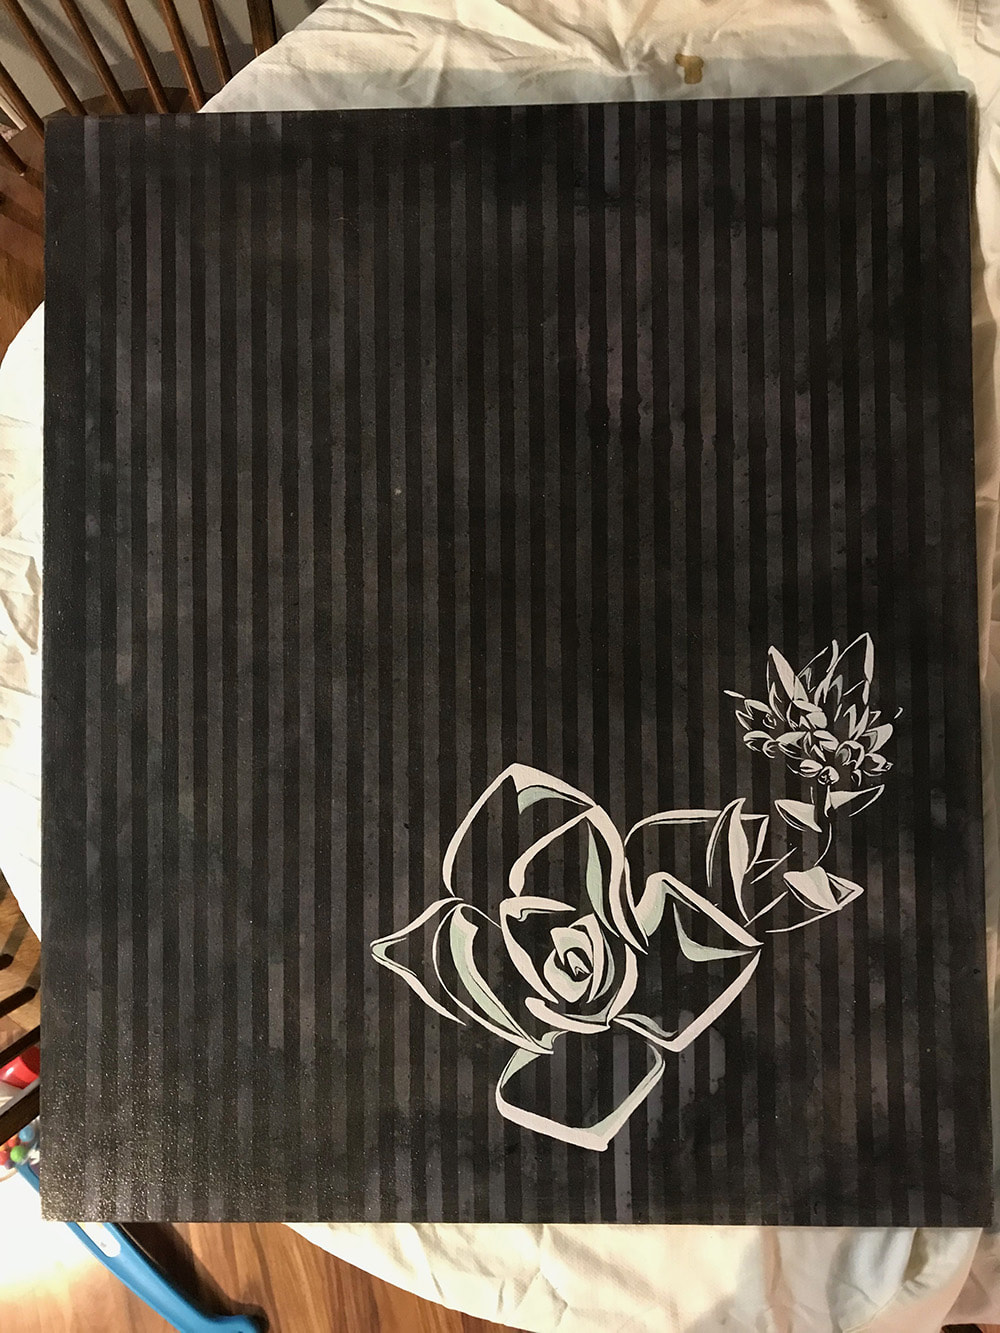
Here it is after it dried, with the tape still on (left) and without the tape (right). I was surprised by how well the tape blocked out the paint. I thought there would be more bleeding around the edges. Next, I did another round of staining with a chromatic black. I used more water in the second batch of paint so that the stripes would still show. (I forgot to take a picture after this step).
Then I started painting in the plant.
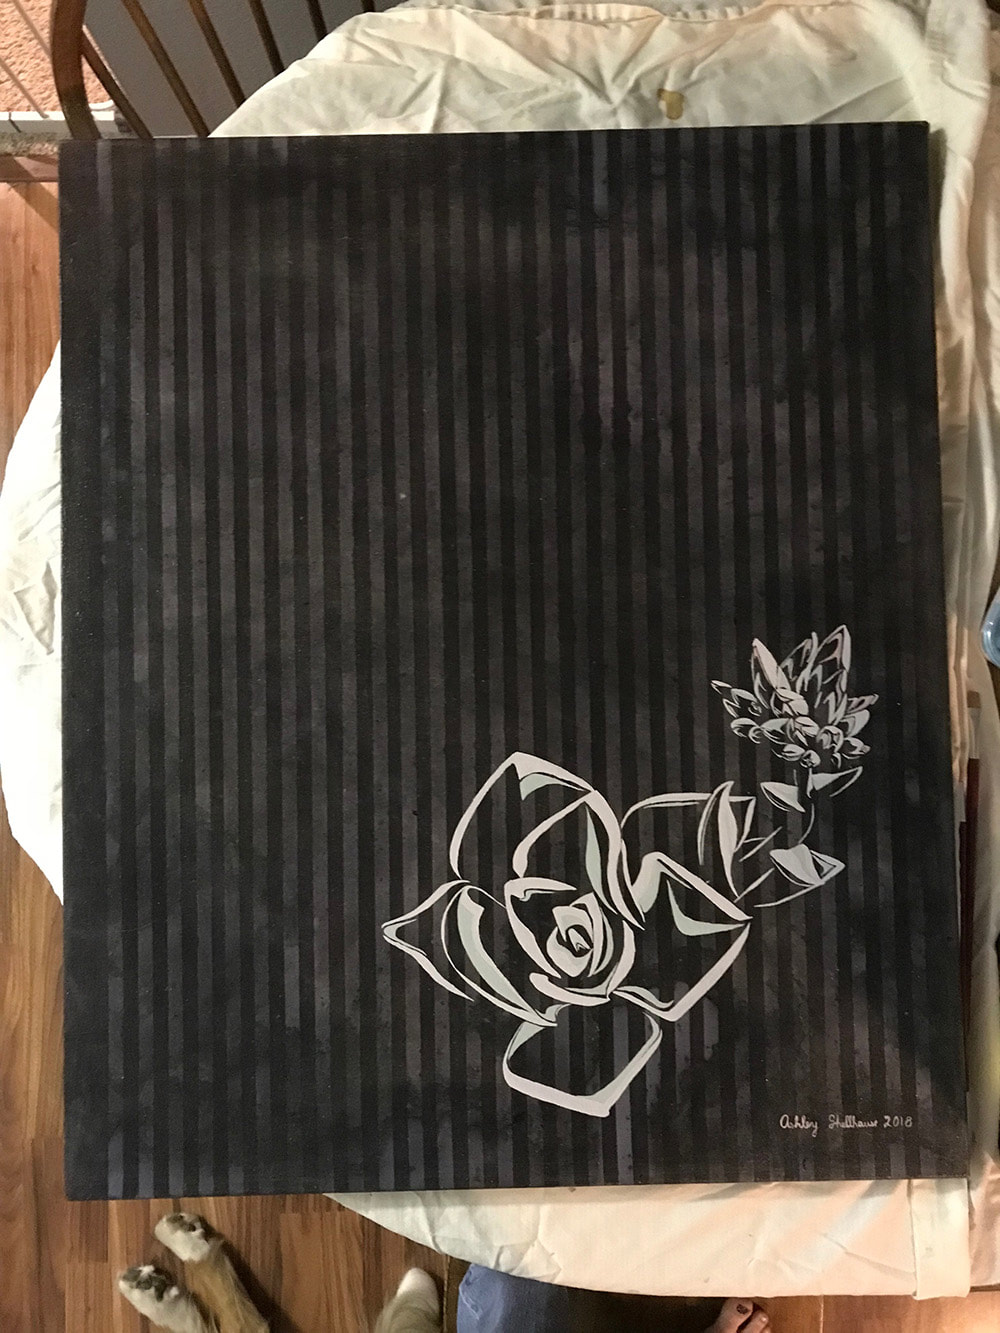
Here's the finished piece next to my source image! I think the end product captures the feeling of the moment when I took the picture. I was clambering over the rocks in the Tule River at the time and just happened to look down to see this little flower. It was a quiet pause in the middle of a bunch of activity.
Towards the end of 2015 Art Design Consultants, based in Cincinnati, Ohio, bought one of the paintings from my appaloosa series and commissioned another for a corporate project. Their client was PricewaterhouseCoopers in Columbus, Ohio. They purchased ScSSc+ SdS_ SvS_ No. 1, 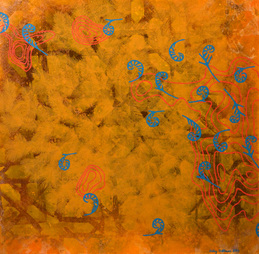 and commissioned ScSScS SdS_ SnS_ No. 1. 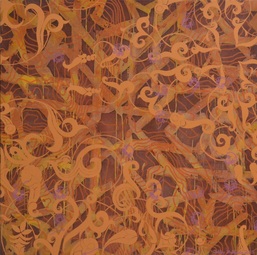 Here they are installed. 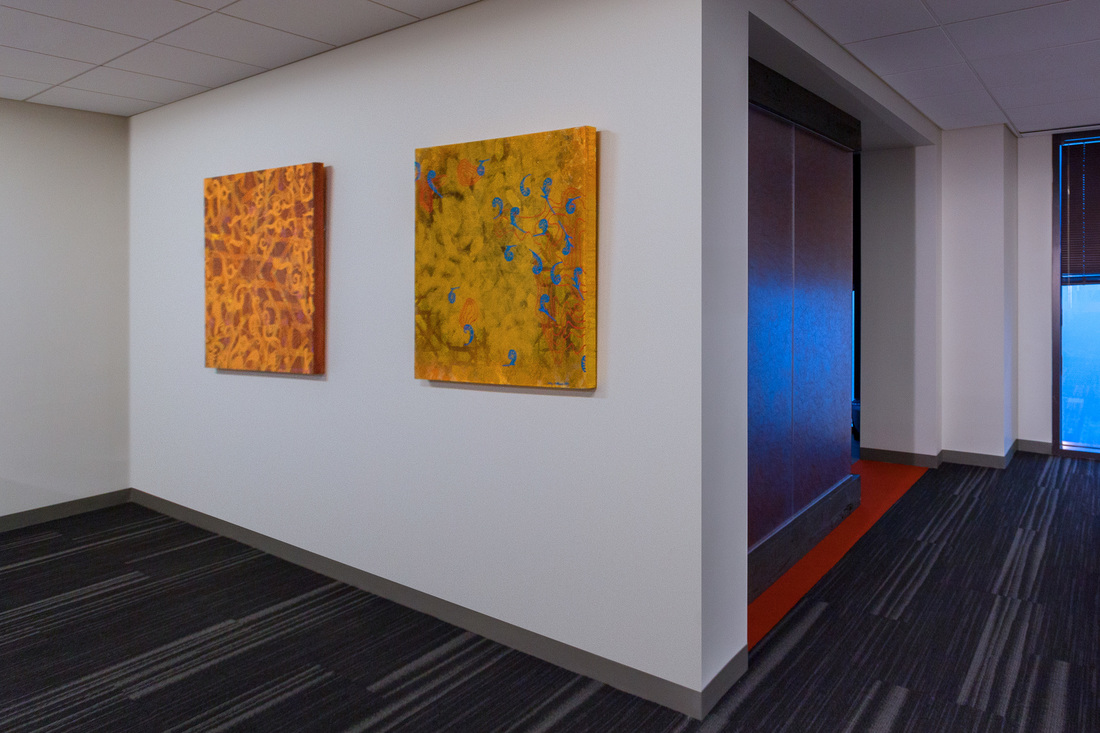 |
Ashley ShellhausePainting and Drawing Archives
January 2024
Categories
All
|


 RSS Feed
