|
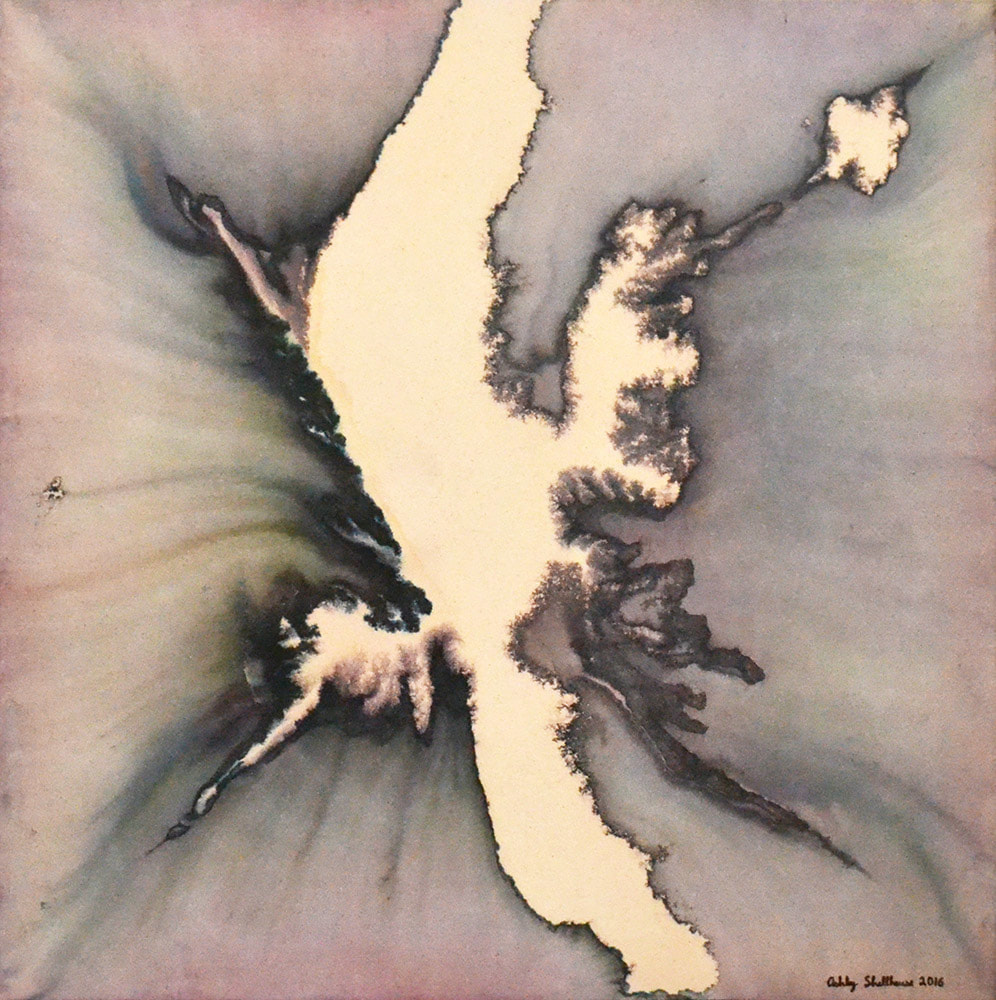
It's difficult to decide when you really start being an artist, but I started studying art in high school, majored in it in college, then continued with my MFA. I've been out of school and creating since 2010, so that's a solid eight years of professional artist time for sure. During that time I've noticed a handful of recurring patterns and forms. One of them is roughly funnel shaped, like a "V". I think about the shape differently as I'm creating it. Sometimes is the valley between mountains, a cross section of a canyon, a would, or, more abstractly, as a void between two solid masses. The form doesn't usually make it into my final pieces. It usually stays in sketches and under paintings. This piece, Engulf, is probably the best example of this form in a finished piece. Even this example is not exact - the funnel usually closes at the bottom.
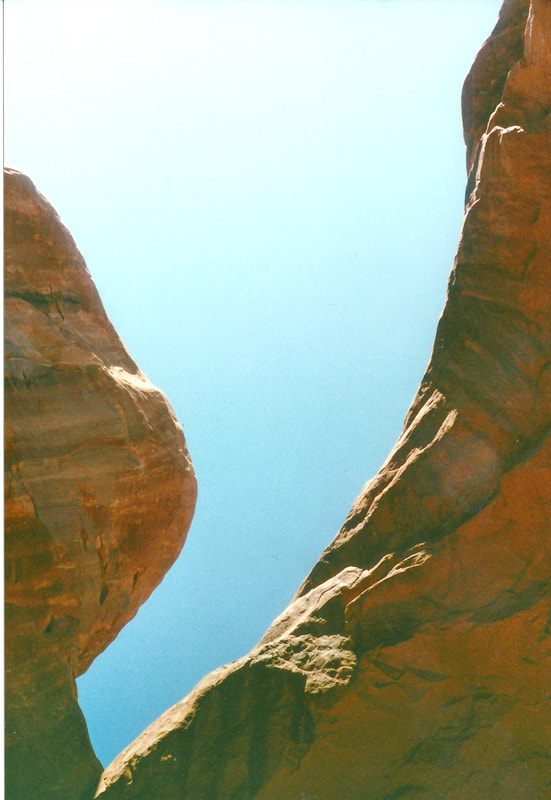
Today I was going through some photos for inspiration. I found a lot of recent digital photos to use in my Artifacts series, but I wanted something for my Parks Project. I went through some of the prints I have from my old film camera and found this one from Arches National Monument. (Sorry for the quality, this is literally a crappy scan of the print from my 3-in-1 printer.) There's that form again. I took this picture at least 16 years ago. It's interesting how things get stuck in the subconscious. I plan to paint this at some point. Who knows, maybe this shape will make it into a finished piece.
0 Comments
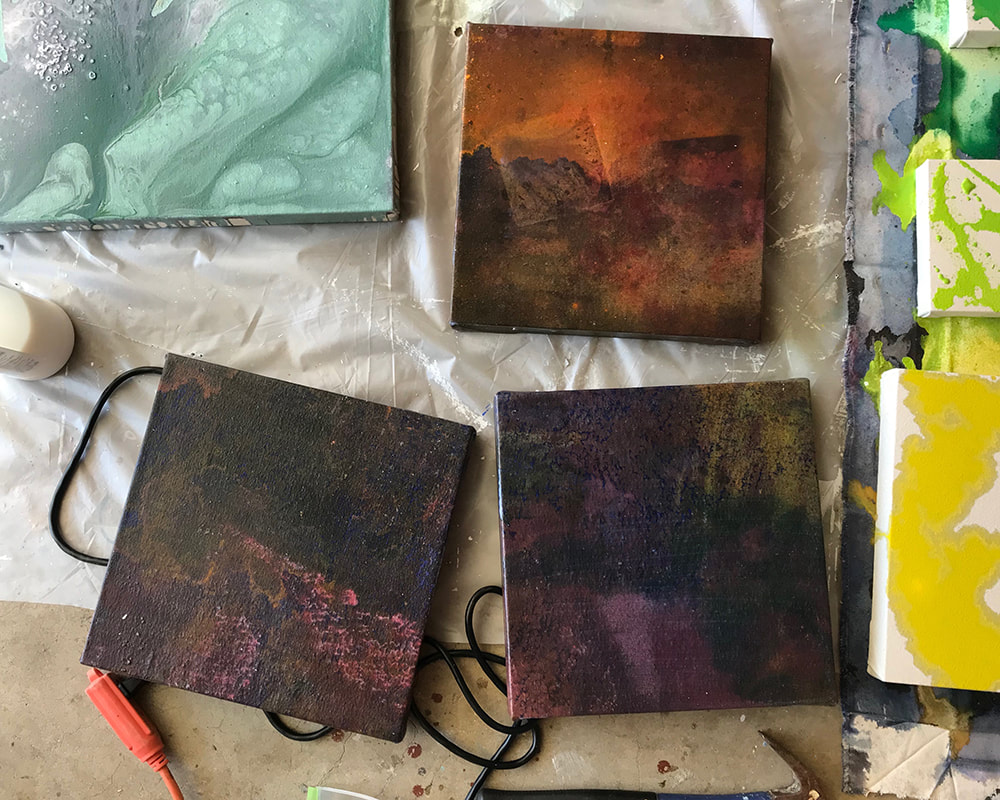
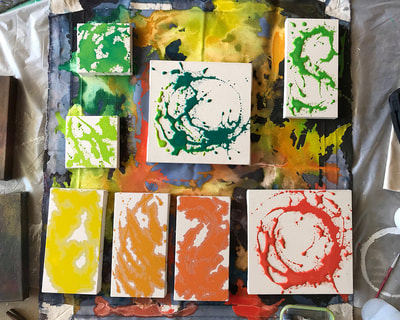
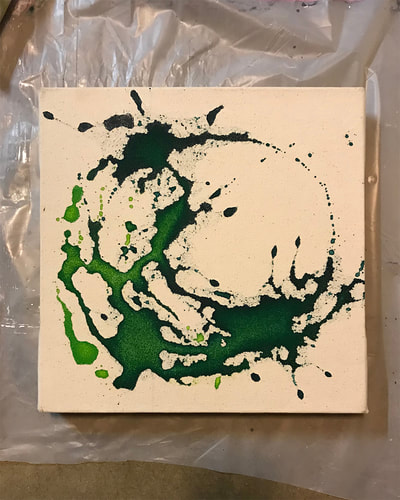
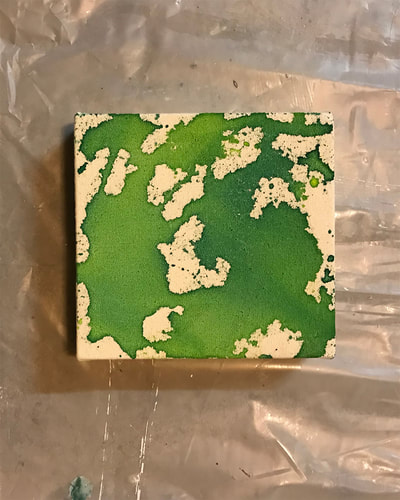
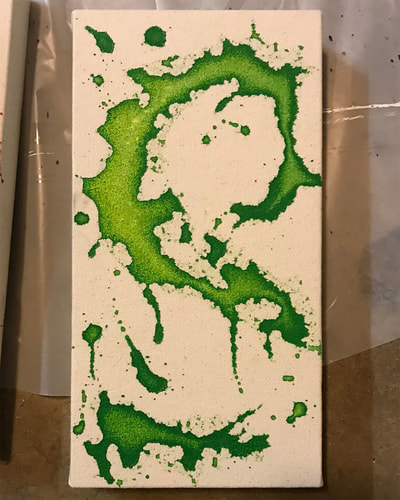
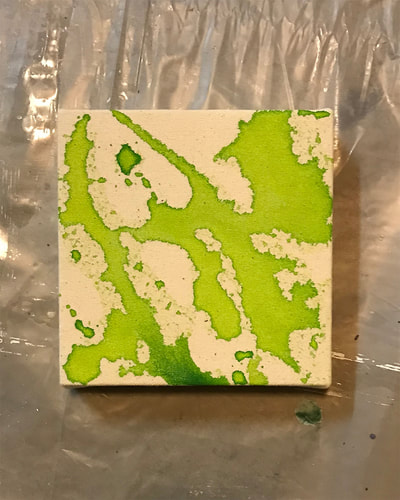
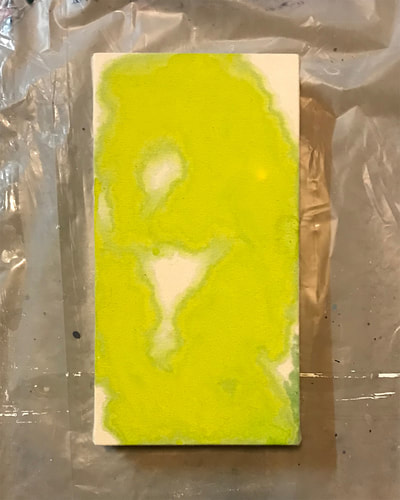
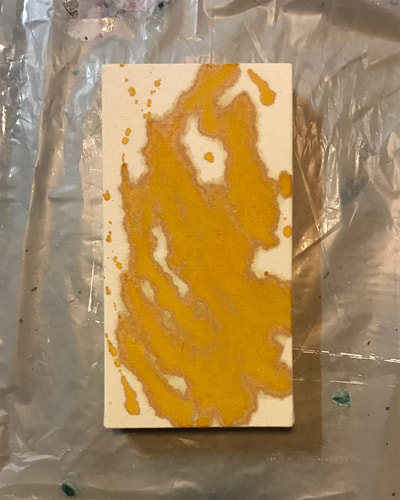
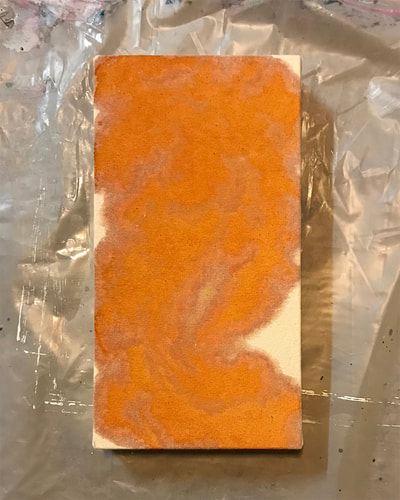
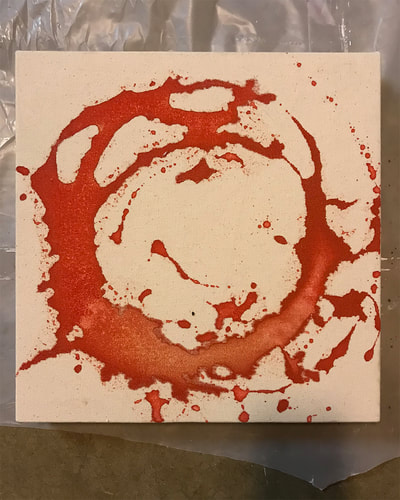
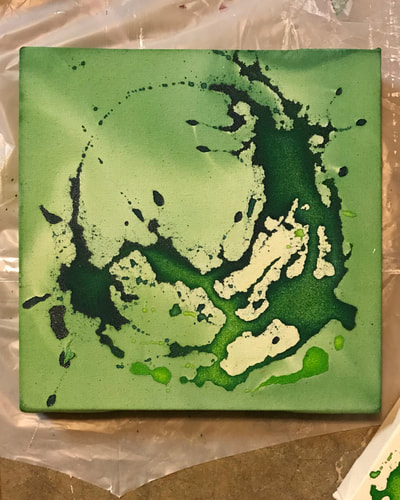
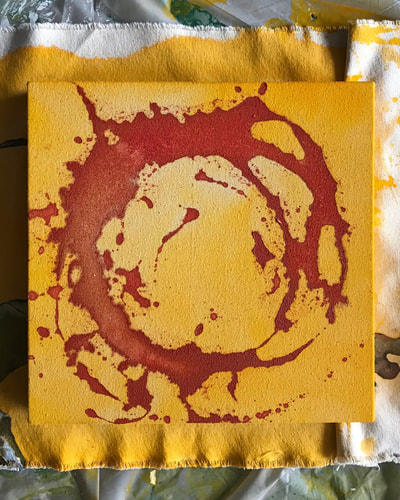
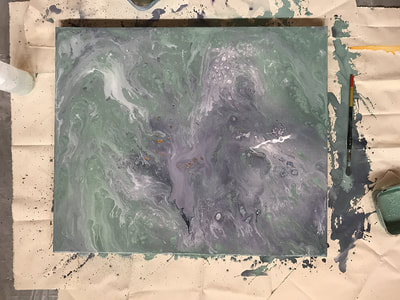
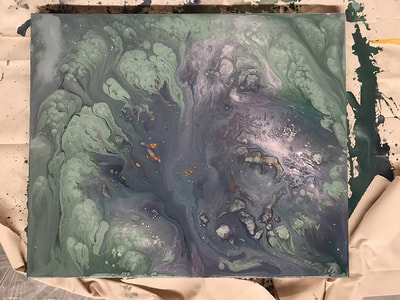
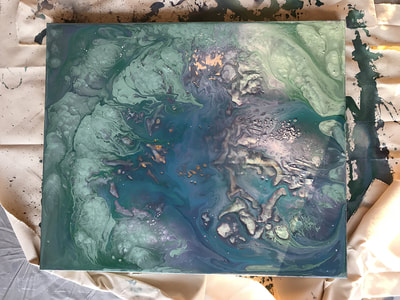
I've been busy in the studio over the last couple weeks. I started off doing some house keeping. Montaña de Oro State Park No. 1 is officially complete. I put several coats of varnish on it. The only thing left to do is to get a good picture of it. I also stretched a new medium sized canvas and did these three smaller ones using one of my drop cloths. My plan is to do some small botanical studies on them, similar to Sequoia National Forest No. 1. I want the surface to be really smooth for the studies, though, which requires lots of layers of acrylic medium. As I was going through my drop cloths and waiting for paint to dry, I found a bunch of small canvases that I made a couple years ago and decided to do something with them. I did some small pours over them using the same container of paint. After I did one more, I added some new color to it for the next pour, one right after another. It was a fun exercise, and I was surprised by how bright my colors stayed. Once they were dry I put another layer on a few of them. I'm not sure what I'm going to do with them, but they sure were fun to make.
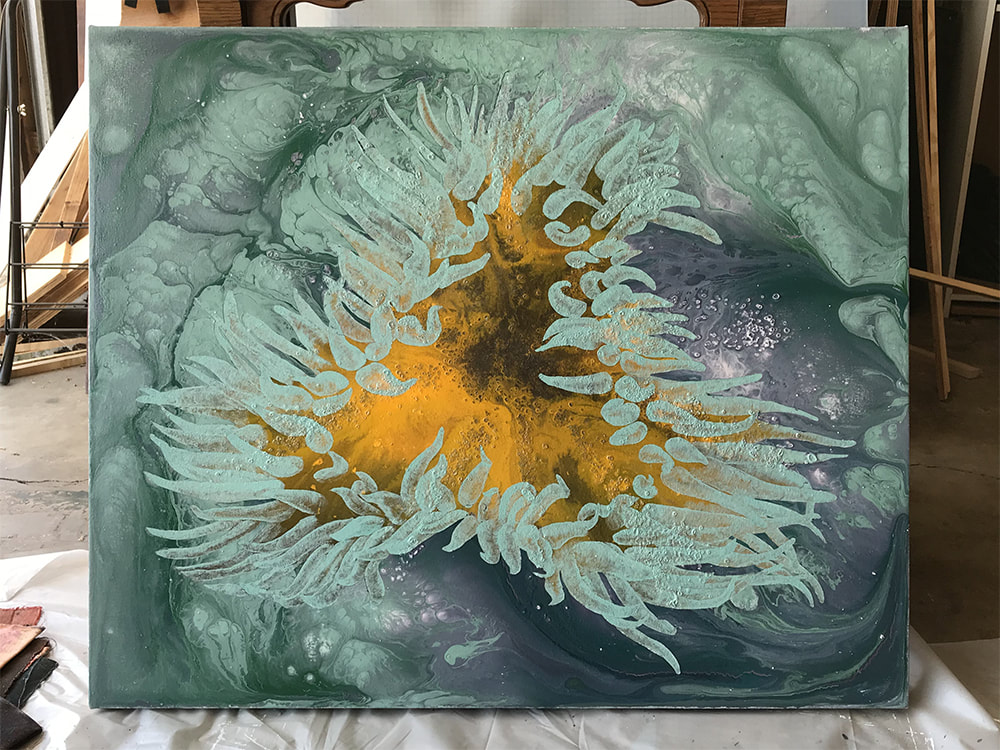
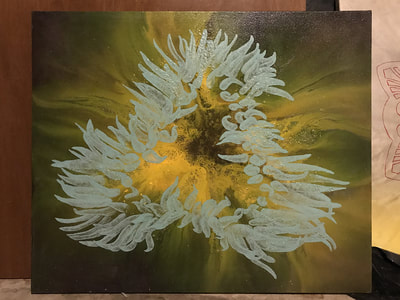
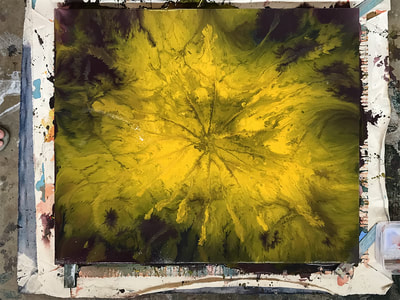
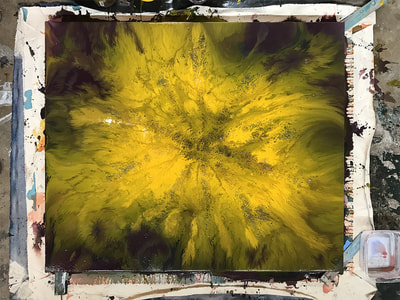
Here's what the painting looked like when I went out this morning. It was almost dry, just a bit tacky in a couple places. So I set to work taking the contact paper off. It was harder than I thought. I actually had to cut through the paint to do it. It took a lot longer than I expected but I'm glad I did it when I did. The paint did leak under the contact paper in a couple places. It was still wet when I cut the contact paper off so i was able to wipe it off. If I had waited longer the paint would have dried. Here's the end result! I'm really happy with how it turned out. I still need to put on a clear layer of acrylic medium, sign it, and varnish it. None of that will really change how it looks though.
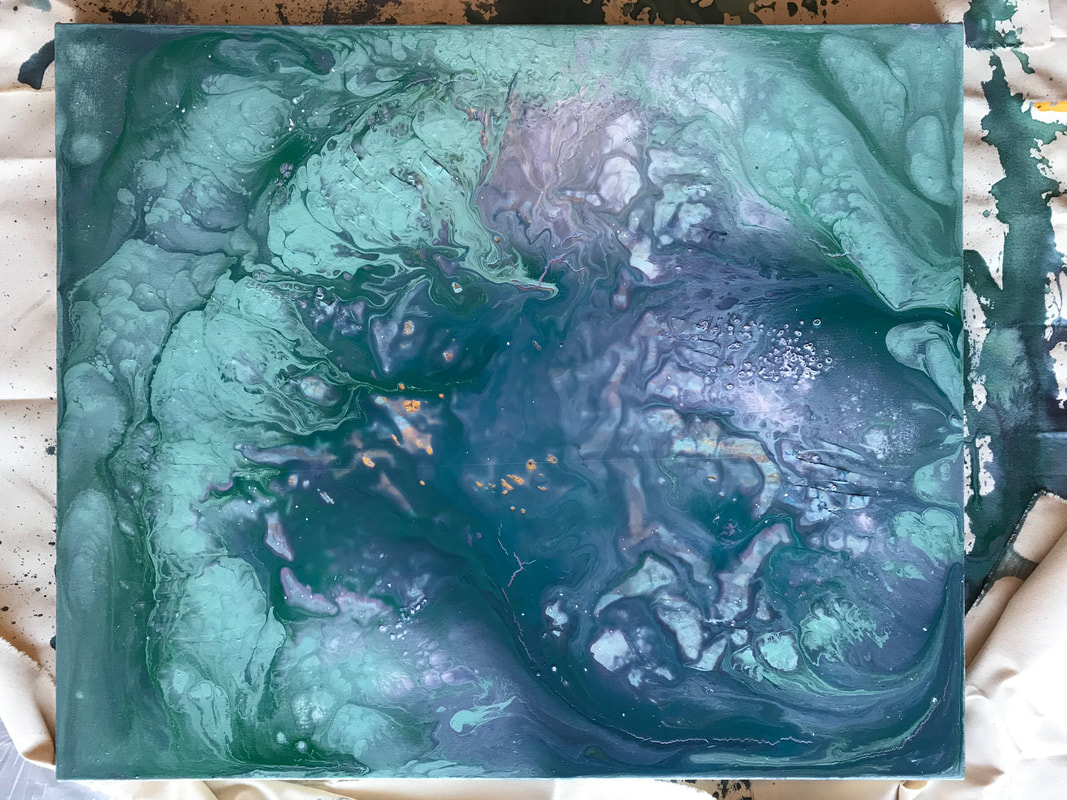
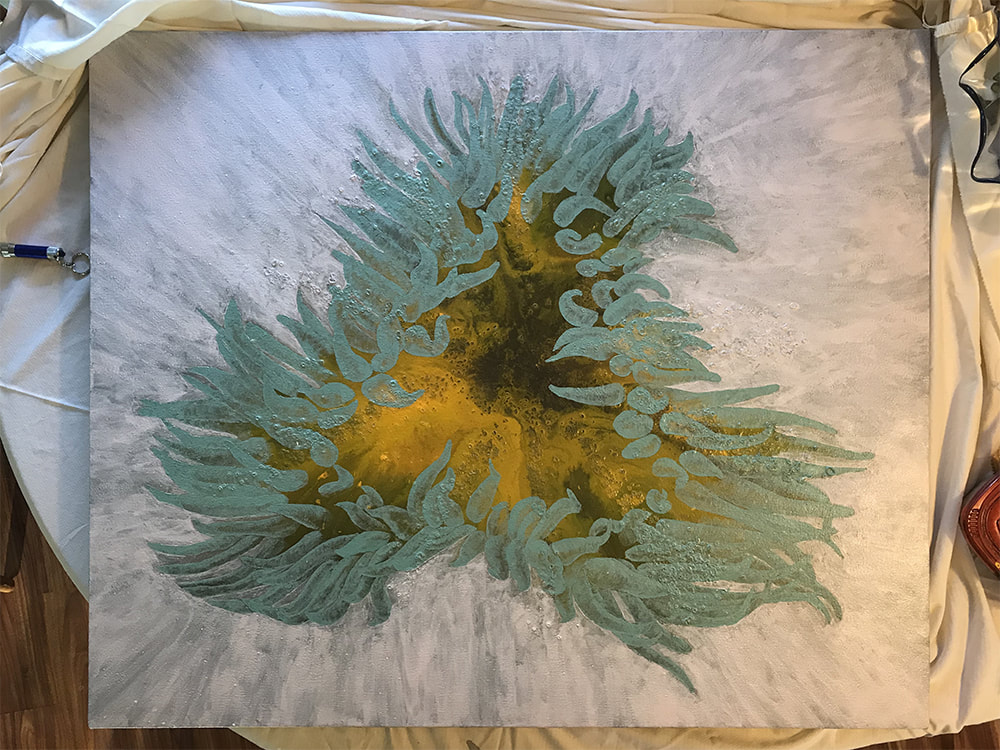
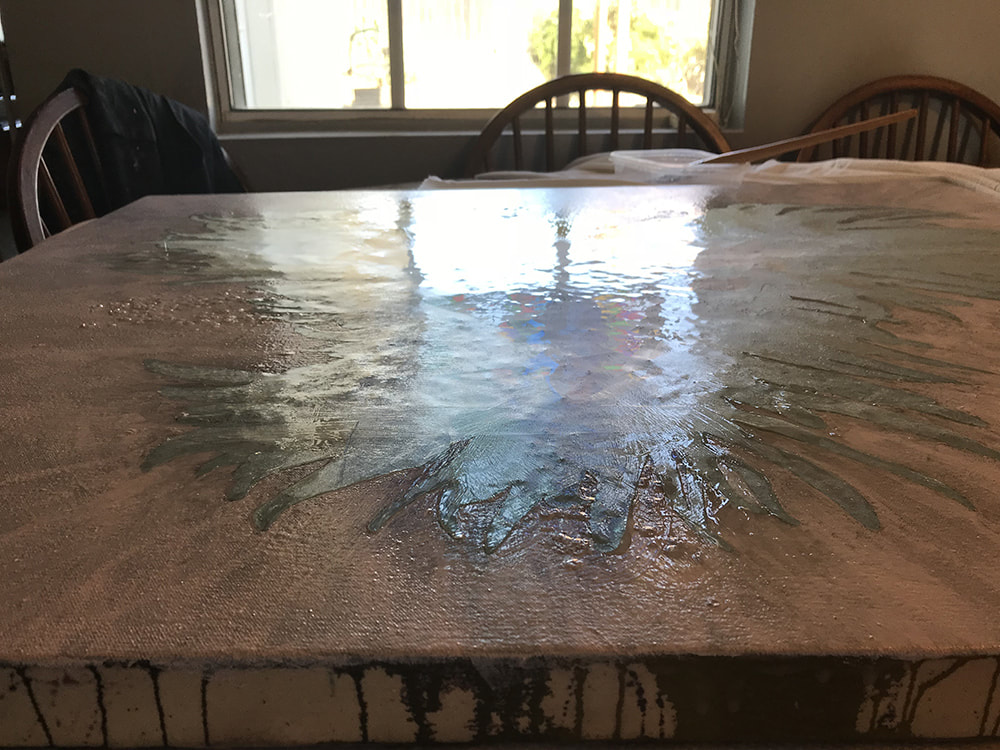
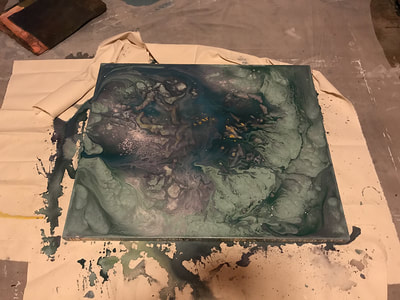
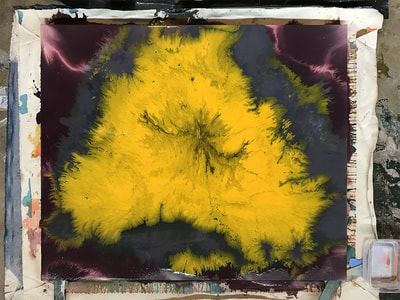
I'm back! We took a trip to Ohio at towards the end of July to visit family, and we've spent a couple of weekends in Springville, California with my parents. I did some glass work on those visits (I'll share that work later). But now I'm back home and back in the studio - er, garage and dining room table. I made some progress with my Montana de Oro painting. Here's where I left it before I left for Ohio. I wasn't happy with how the area around the anemone turned out. I decided to try to block out the anemone with contact paper and do another pour around it. Here it is with the contact paper cut out. The contact paper is extra shiny. I painted over the edge of the contact paper with acrylic gloss medium a couple times to seal the edges. Then I mixed a few different colors and poured them over the piece. Here are some pictures of the pour as it's drying. I've been experimenting with my pours in this piece. Usually I think my paints down with water, or water mixed with acrylic flow release. In this piece I've used acrylic pouring medium. The pouring medium keeps some body to the paint. The end result is a layer of acrylic instead of the stain painting I usually do. The colors typically stay more vibrant. It also captures the way the colors flow together.
I'm excited to see how this one turns out. Unfortunately it won't be dry until at least tomorrow. Then I get to peel up the contact paper. Hopefully the paint didn't leak underneath. Here's one of the things I worked on last weekend. It's the next step in my Montana de Oro piece. The colors are probably most accurate in the first picture.
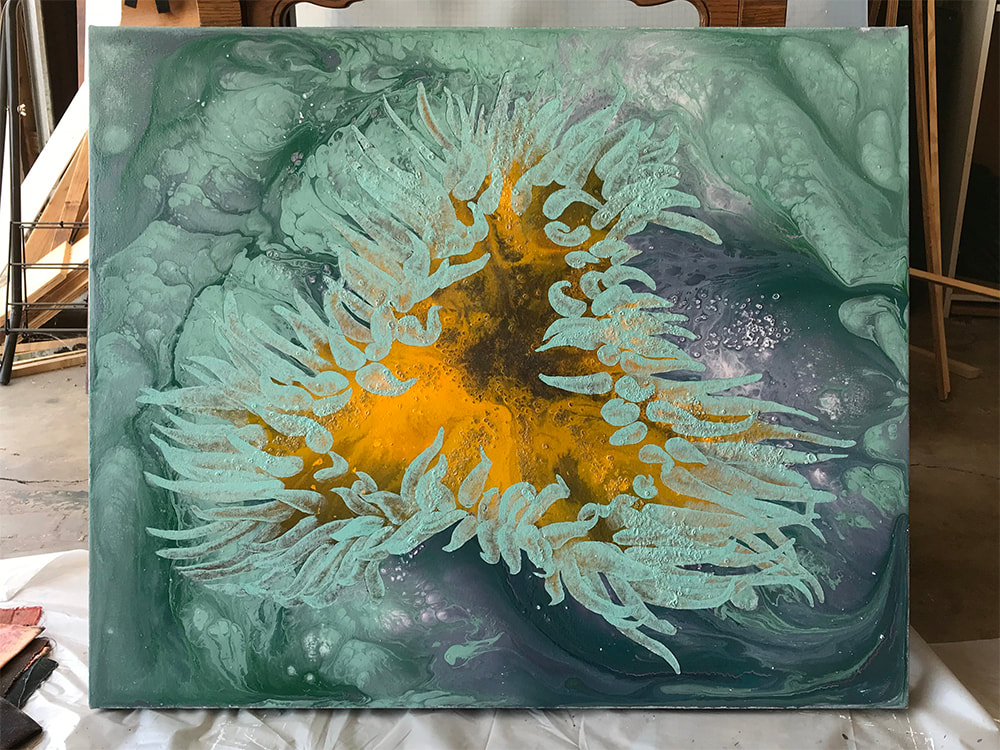
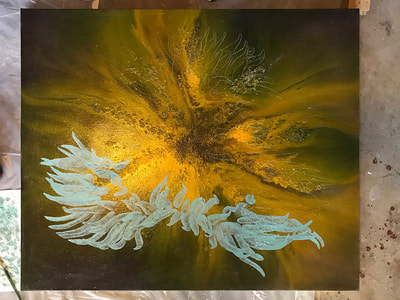
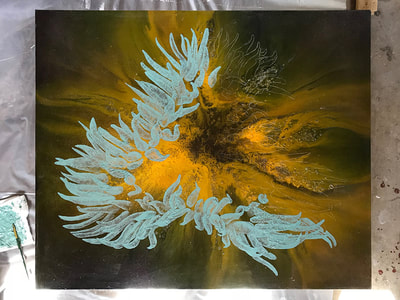
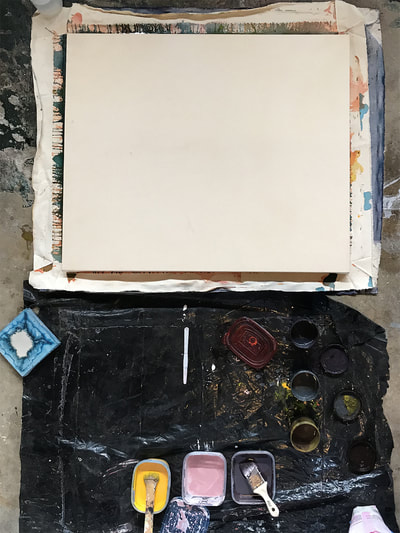
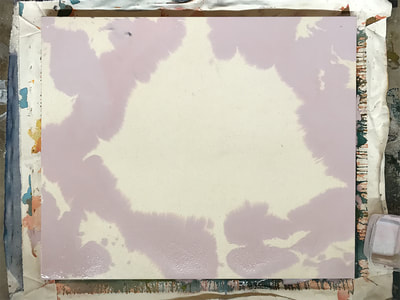
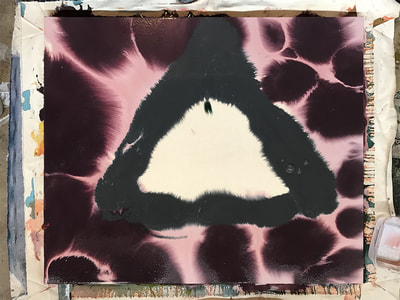
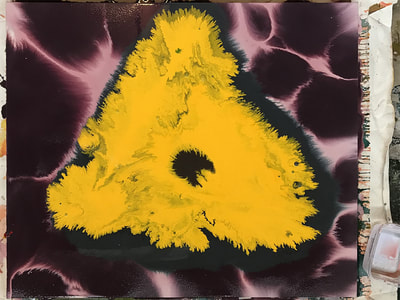
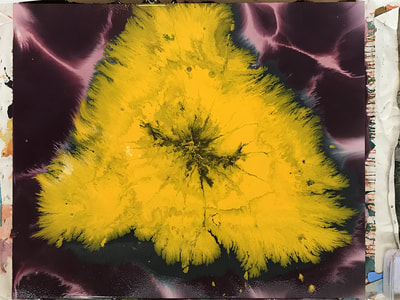
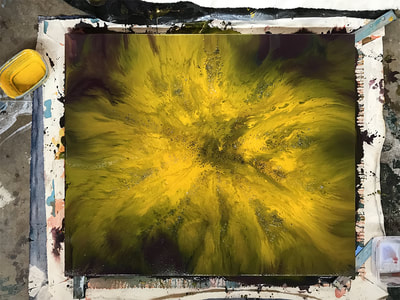
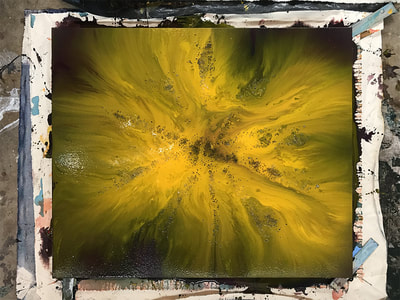
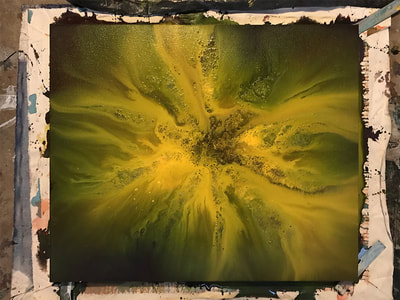
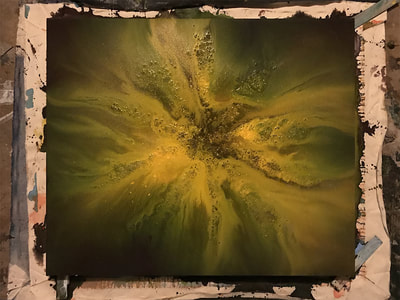
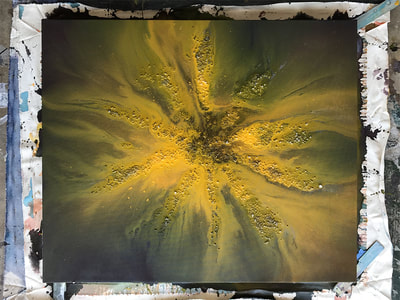
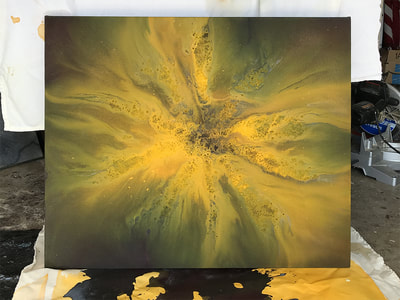
Here's the next piece I'm working on. It's based on a sea anemone I found in the tide pools at Montana de Oro State Park (in California). I was good this time and took a bunch of in progress photos. This was one of my first times using acrylic pouring medium. I mixed a fair amount of it in with the yellow. I'm really pleased with how it maintained the intensity of the yellow, though I think it pushed out the rest of the colors. This is just the first layer. I'm going to go back into it to add more definition to the anemone. I might bring back some of the pinks and purples surrounding it.
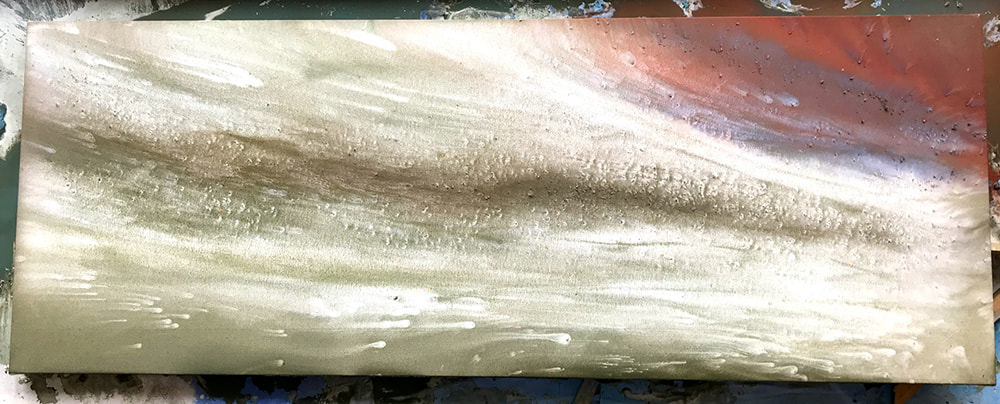
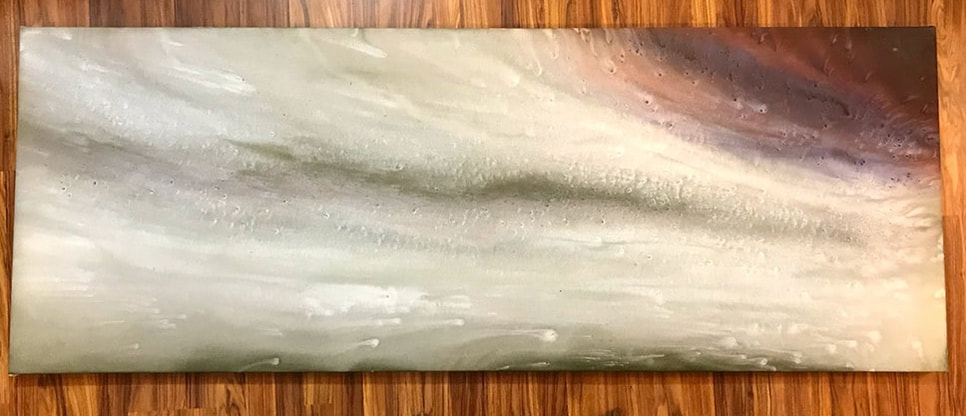
This is one of the pieces I'm working on now. Barring any process disasters, it will be part of my Parks Project. It's based on a photo I took in El Malpais National Monument in New Mexico. It's the first piece I've done on a full sized door for a while. Excuse the slightly wonky pictures. It's hard to get a good picture of a piece this size when it's laying on the floor. 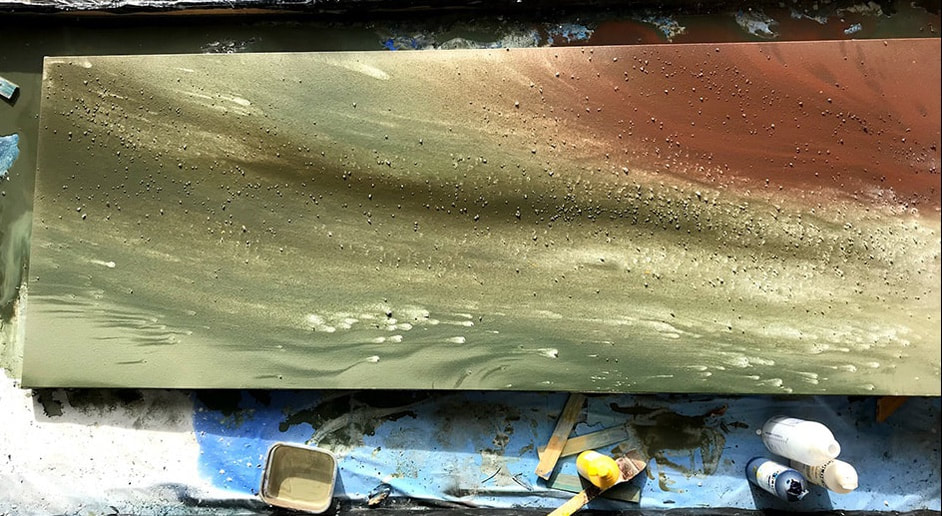 Here it is right after I poured the paint and added the rock salt. This is after a couple more pours and a bit of drying time. And this is where the piece currently stands, dry and re-stretched. Somehow I managed to warp a door, which I've never done before. But it lays nice and flat now.
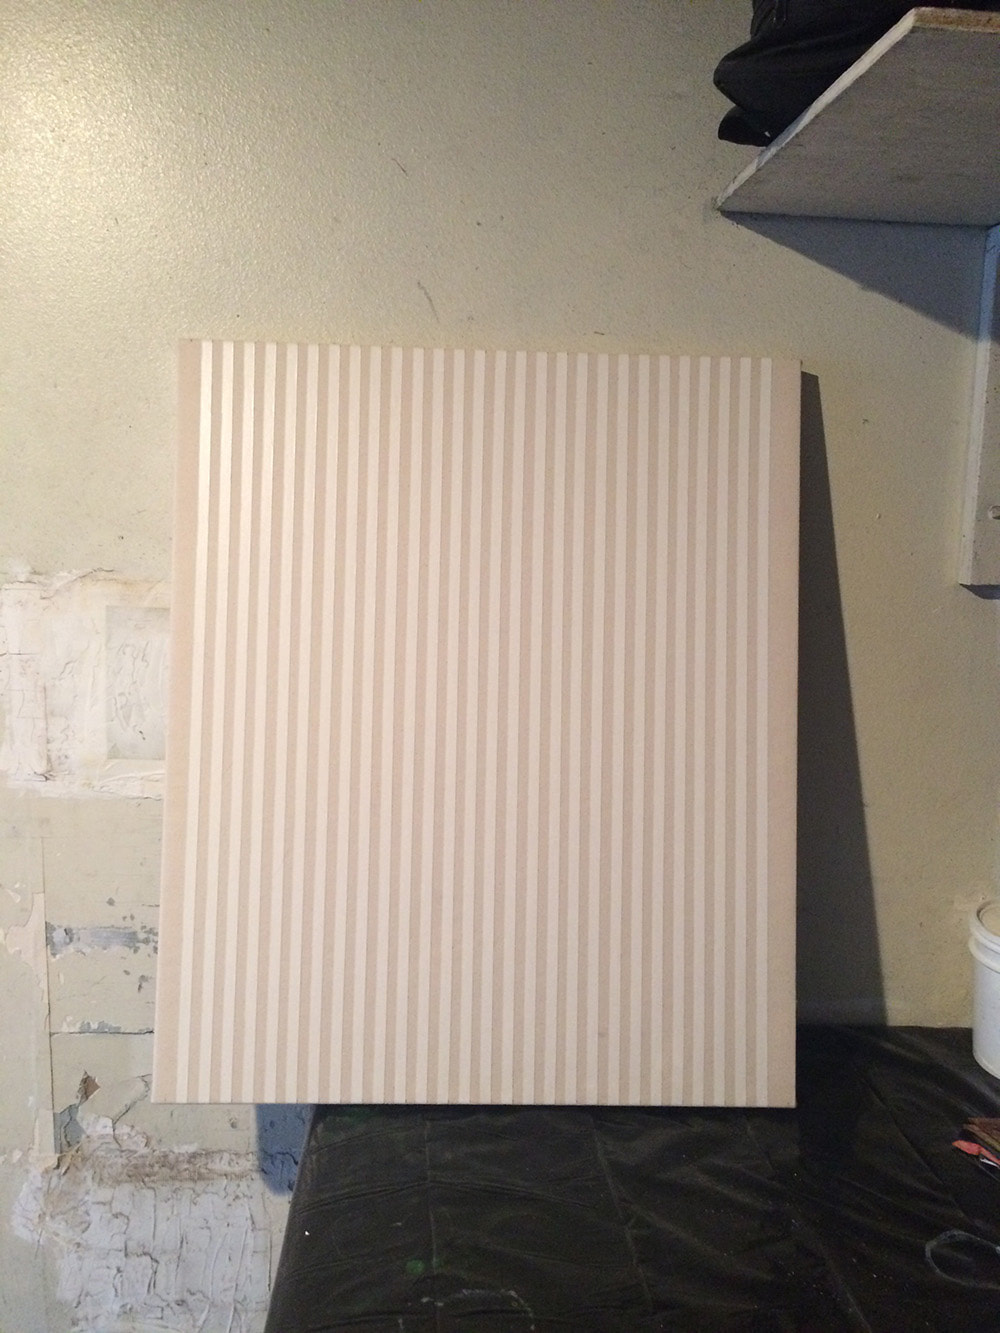
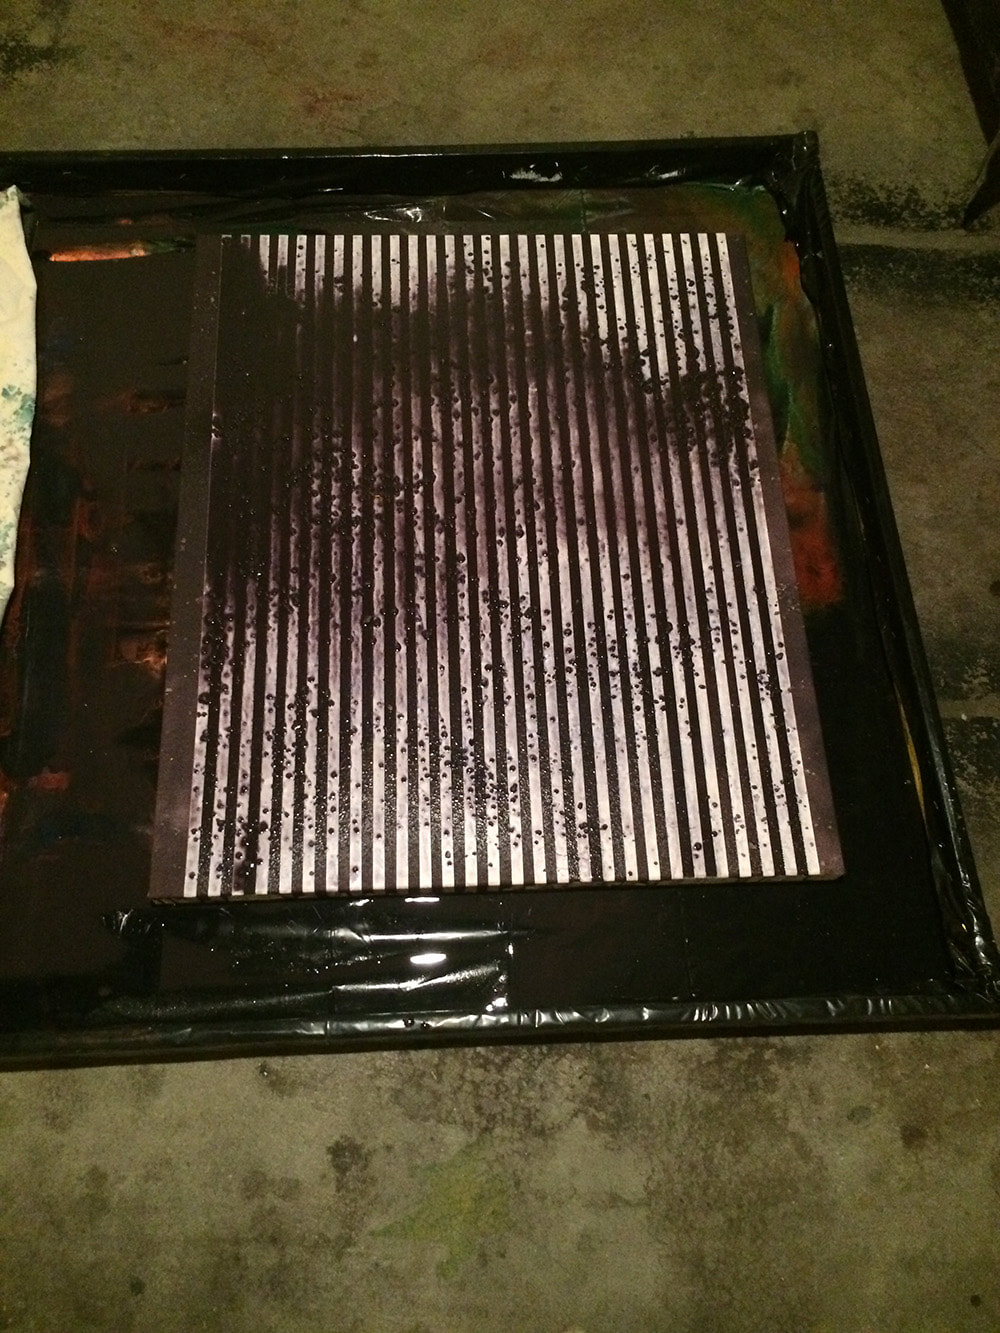
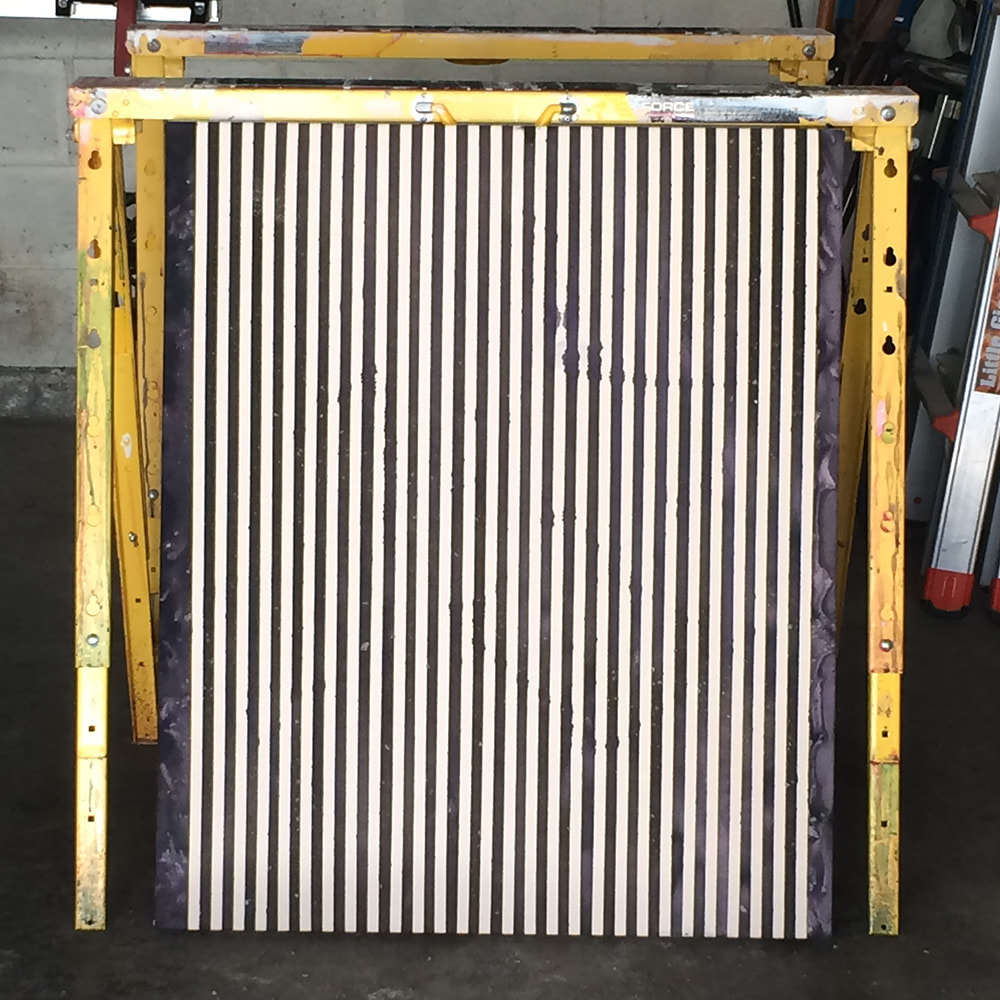
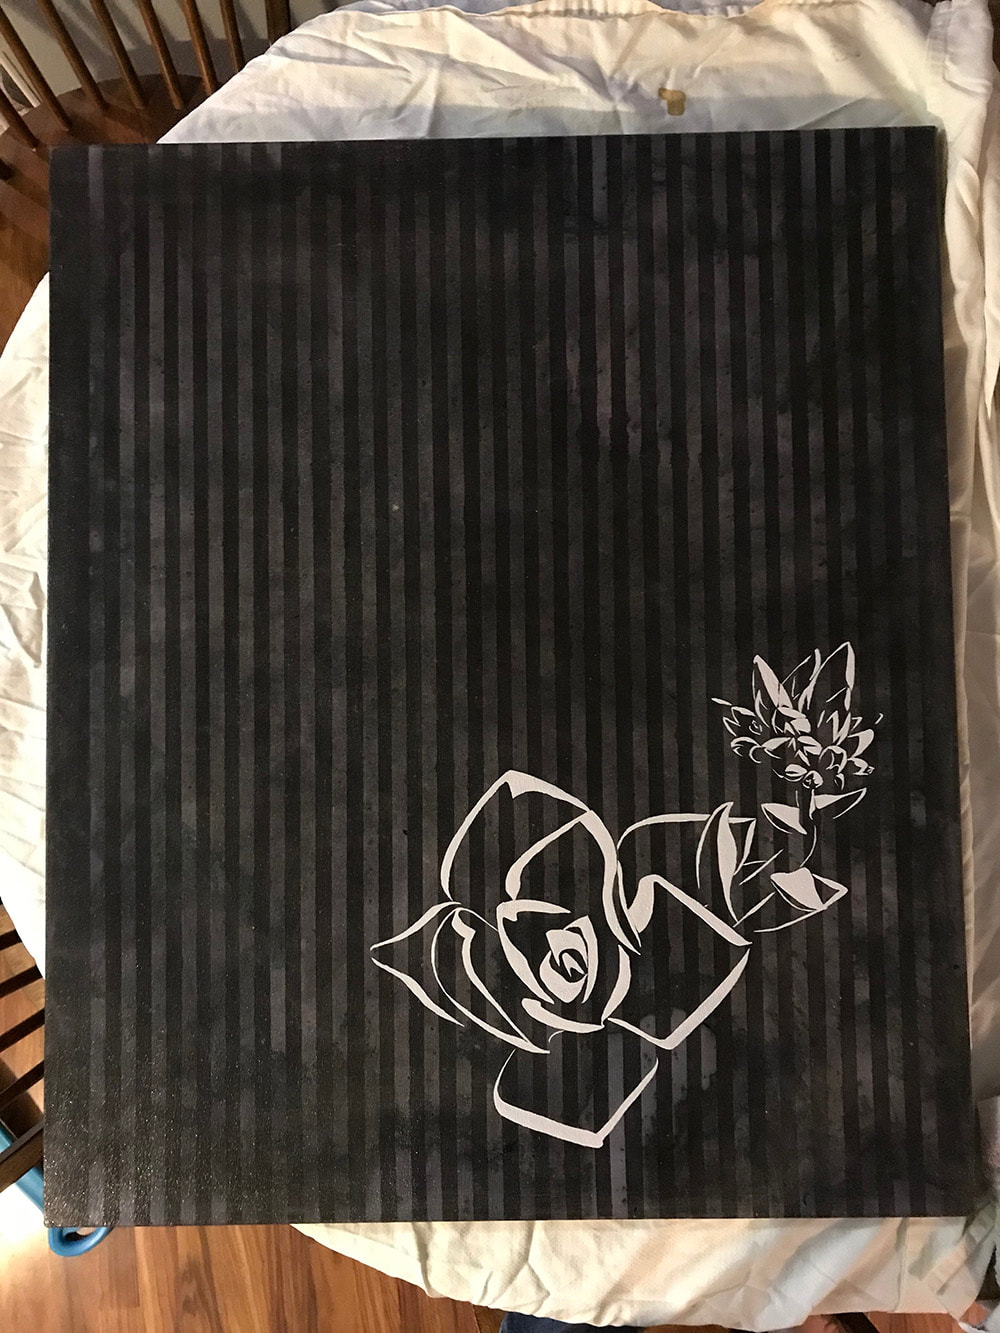
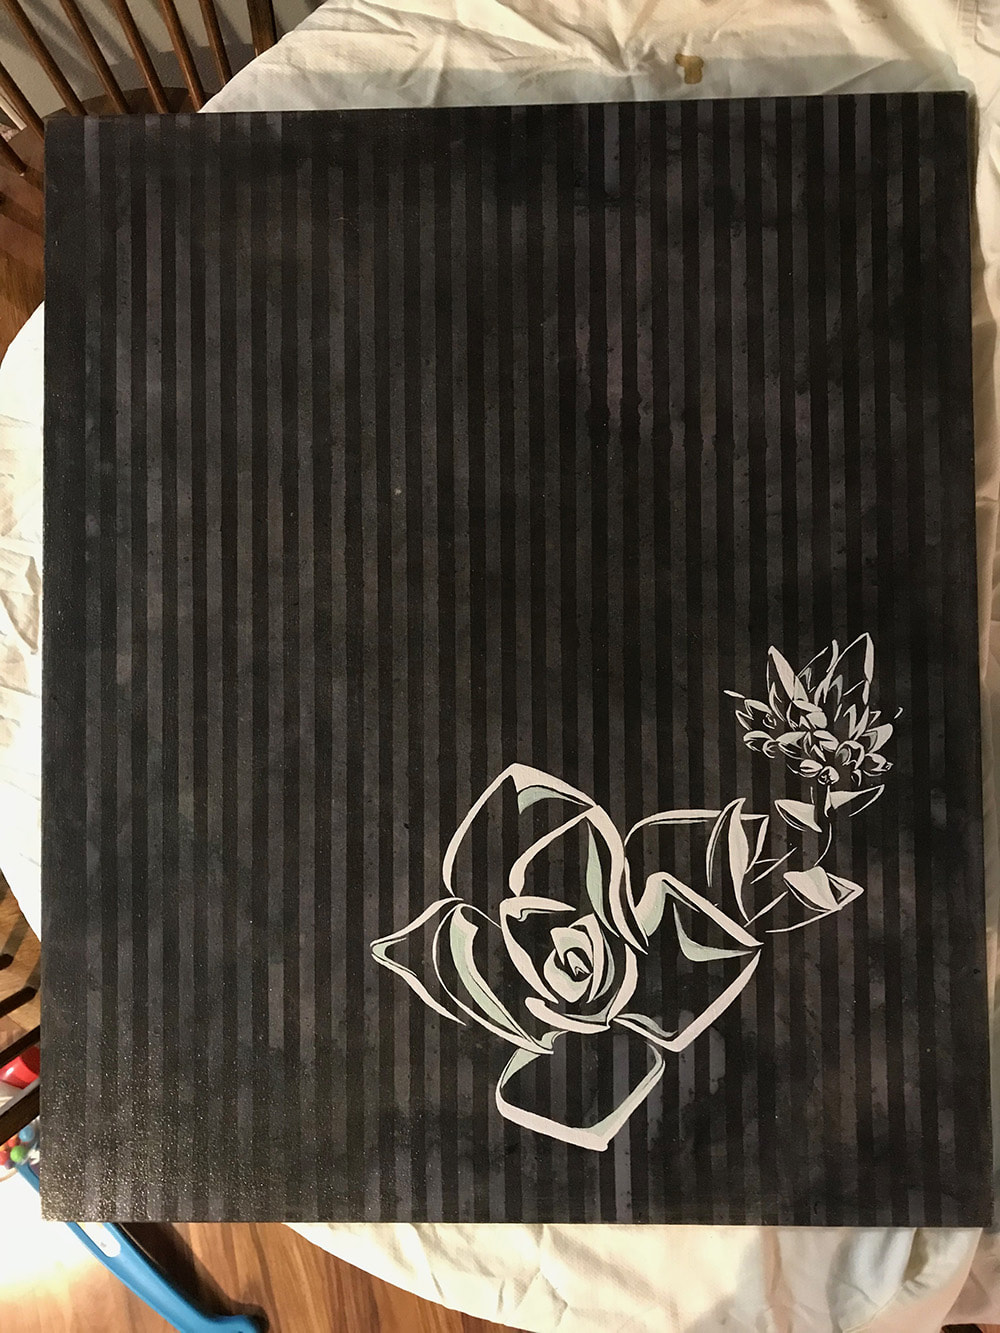
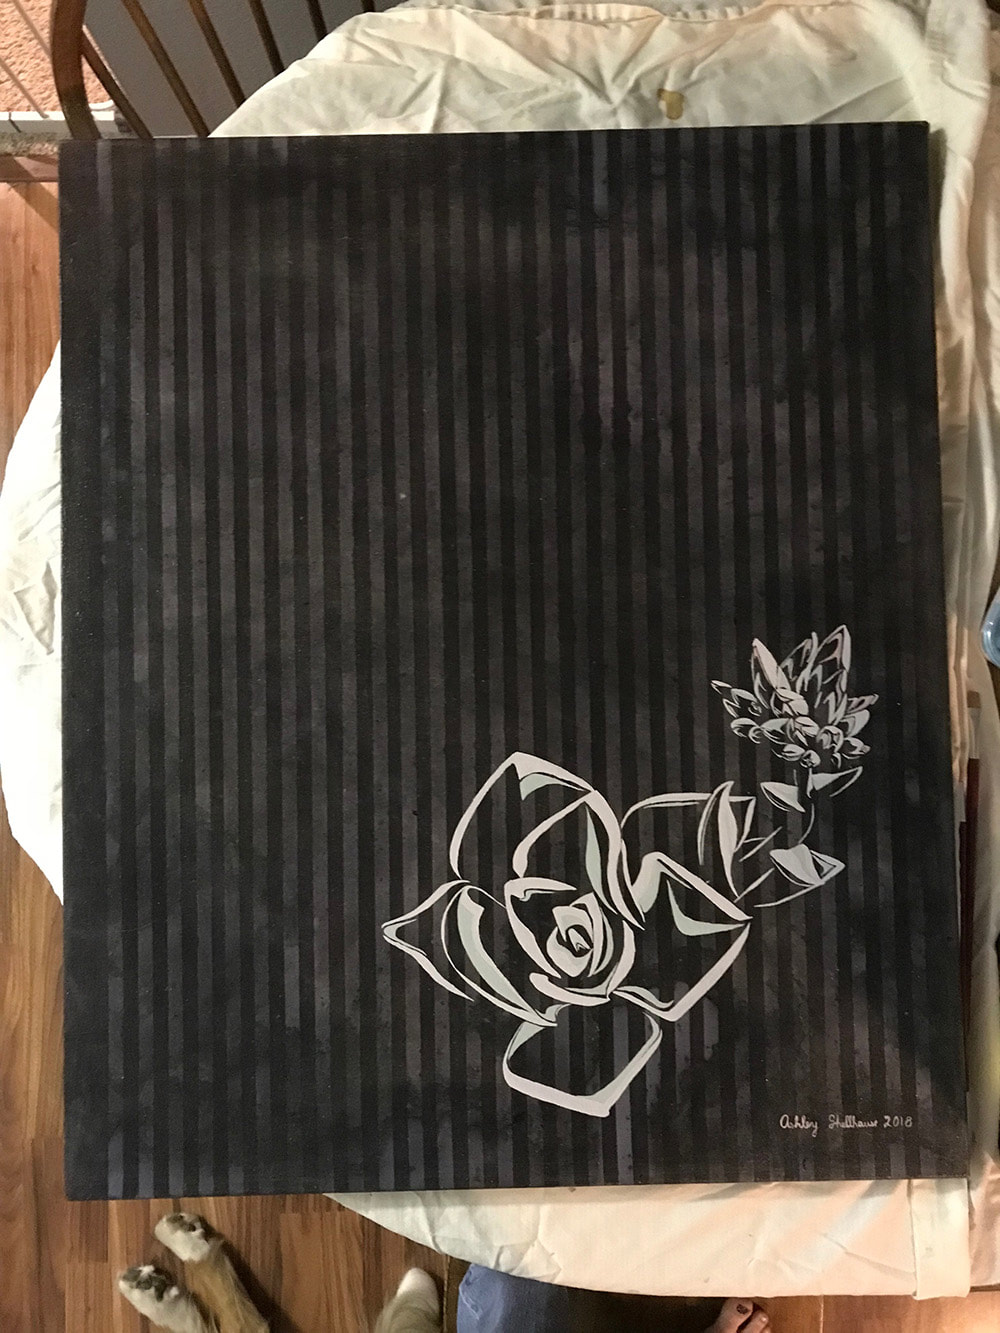
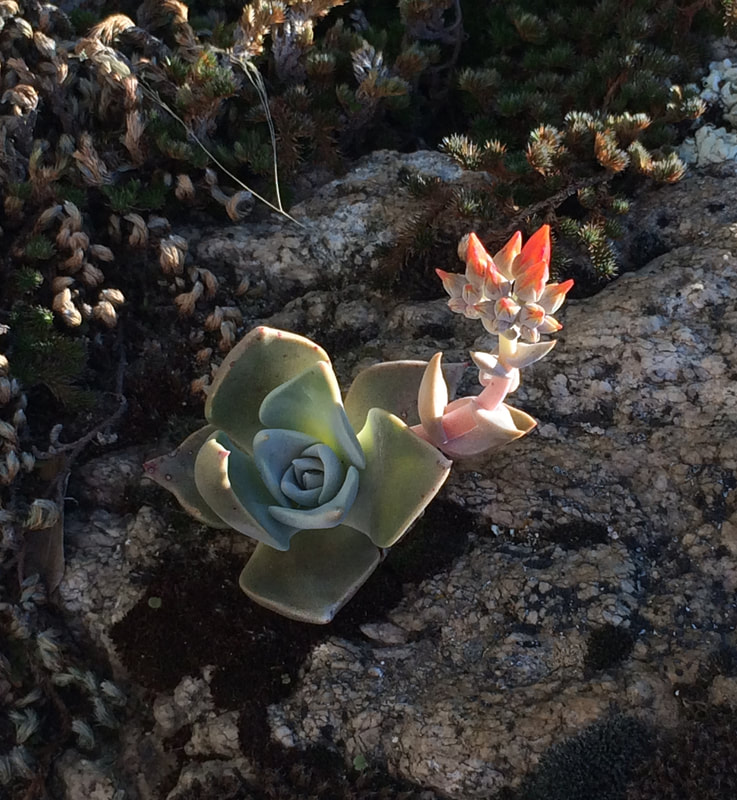
It's always interesting to see how a piece changes as it dries. The red here mellowed out quite a bit, which I was happy with. The red paint was nowhere near that red when I mixed it. I just finished a new piece in my Parks Project series. It's called Sequoia National Forest No. 1. Yes, I went to a park created to celebrate the world's biggest trees, and painted a succulent less than and inch and half across. Typical. I did a pretty good job taking in progress photos with this one. Usually I don't think to do that until the end. I've done some pinstriped paintings before and wanted to try it again. The first step was to put down some artist's tape. Next I mixed up a chromatic black, thinned it down with water, and poured it over the surface. The textured bits shown in the picture is rock salt to give it some mottling. Here it is after it dried, with the tape still on (left) and without the tape (right). I was surprised by how well the tape blocked out the paint. I thought there would be more bleeding around the edges. Next, I did another round of staining with a chromatic black. I used more water in the second batch of paint so that the stripes would still show. (I forgot to take a picture after this step). Then I started painting in the plant. Here's the finished piece next to my source image! I think the end product captures the feeling of the moment when I took the picture. I was clambering over the rocks in the Tule River at the time and just happened to look down to see this little flower. It was a quiet pause in the middle of a bunch of activity.
|
Ashley ShellhausePainting and Drawing Archives
January 2024
Categories
All
|

 RSS Feed
